Some of you might remember my first helmet makeover experiment from a couple months ago. It went so well and looks so good, I decided to finally take the plunge and do my GPA.
I bought my GPA on clearance and got a ridiculously good deal (like less than half price) on it, mainly because it was a “weird” model that had very faint dark gray stars in the middle part. They were so hard to see that I just didn’t care enough to pass up a deal that good. However what had bothered me more and more was the silver vents. I really like the all black look, it’s just more subtle. So since it’s been a couple months since I did the first one and I was now very confident that I could do it and it would turn out well, I painted it a solid matte black.
The GPA is still in really good shape, so all I did to prep it was wipe it down with alcohol, tape over the front logo and back harness (no I still don’t have painter’s tape so leave my hot pink duct tape alone!) and stuff the inside with paper towels to catch the spray that goes through the vents. I used the same brand of paint as the other helmet – Rust-Oleum Universal which is intended for plastics – in Flat Black.
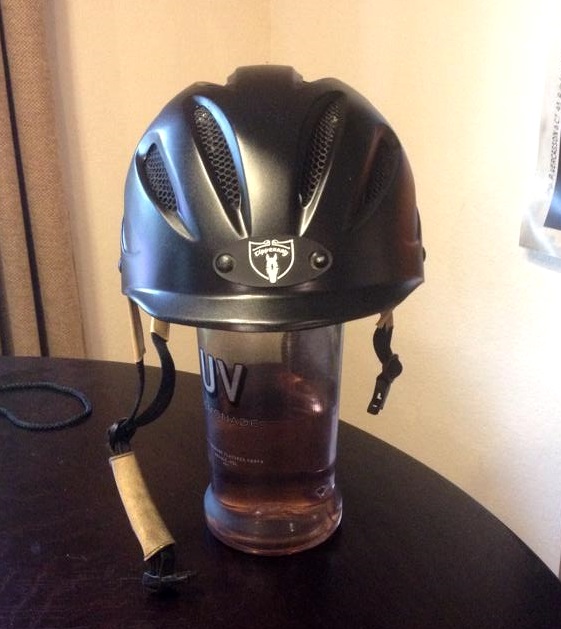
Before:
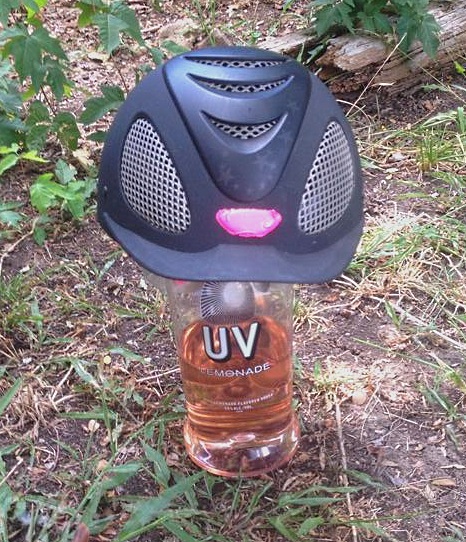
Say goodbye, stars! I have to admit, they’d really grown on me…
After the first coat, still wet.
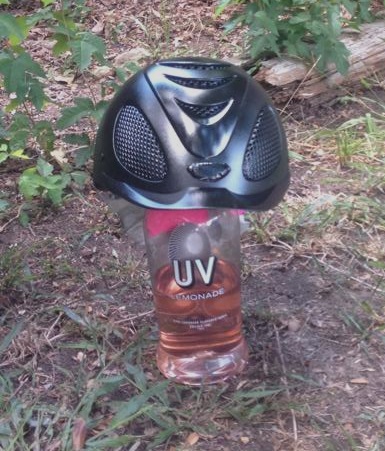
I only did two coats. Everything covered so well and so easily, I didn’t see a need for more than that. So I let it dry for about 15 minutes then took it inside for more pics.
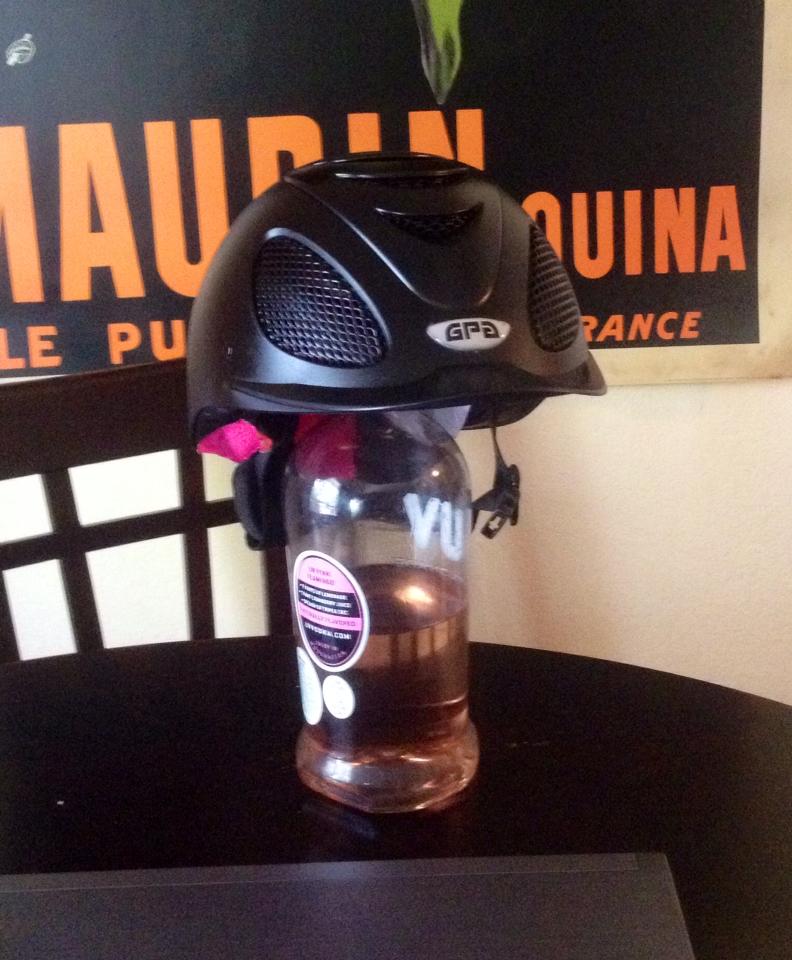
And some closer shots so you can see more detail

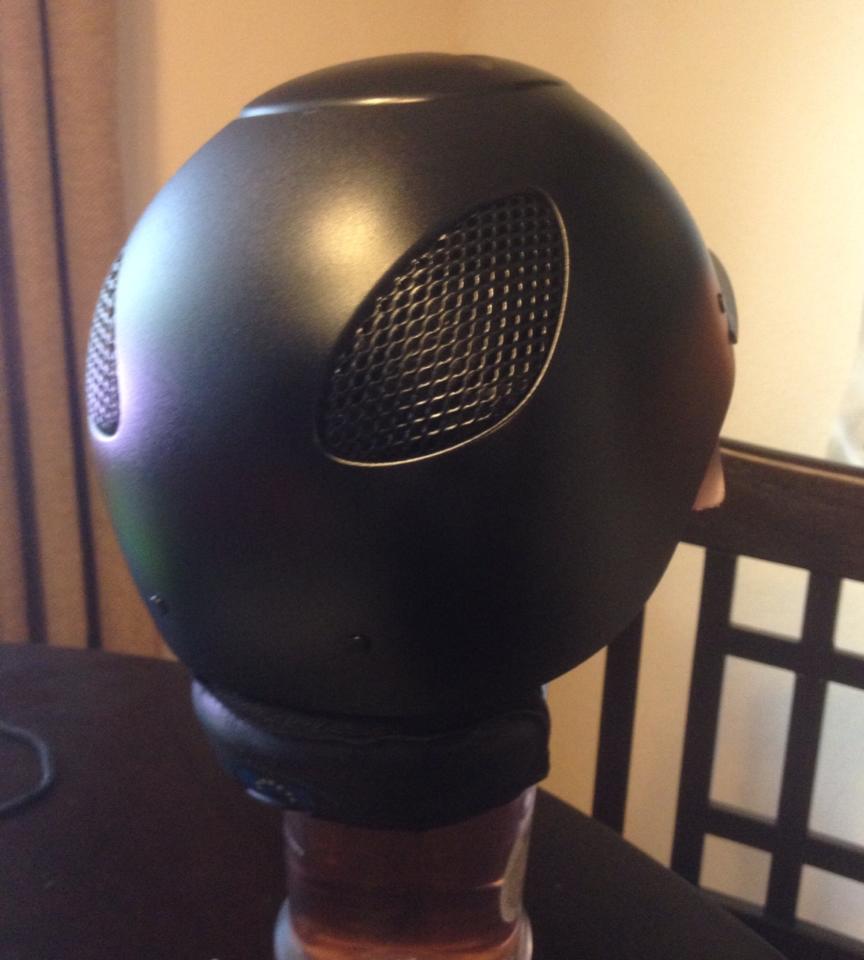
I’m pretty thrilled with how it came out, it looks even better than the first attempt. You really would never in a million years think it was spray painted, it looks just like a regular finish. And being all black makes it look smaller and more flattering on my head. Pictures of that… someday?
After my successful experiment #2, Auf Der Autobahn’s trainer Lisa (of Austin Eventing) asked me if I’d do her Tipperary schooling helmet. Lisa said she hated the color so much she usually wore her other helmet instead. I still had more than half a can of paint left and I’m getting a little addicted to the helmet makeover thing, so I was totally down with doing another. This one was in rougher shape… it had some pretty decent scratches along the top and a couple of spots where the top layer of finish had been rubbed off. And she wasn’t kidding about the ugly.
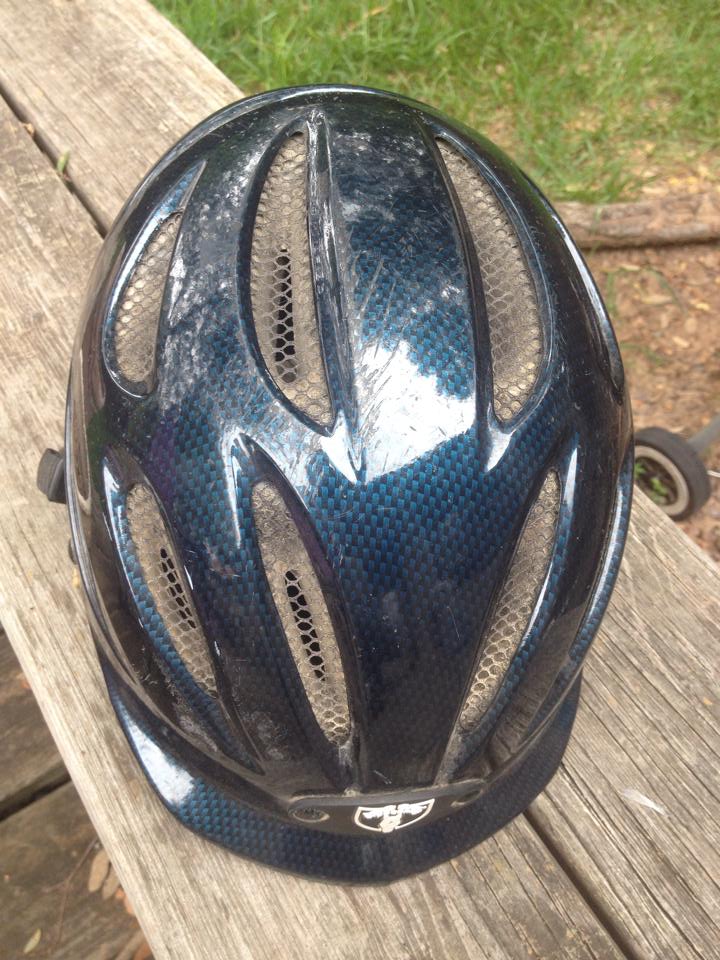
I had to do a lot more prep work for this one. First I cleaned it really well with some kitchen cleaner (no residue) then did a very very light sanding to minimize the scratches a little and even out that one spot that was already missing the top layer of finish. It looks like a lot of sanding in the picture but really it’s just a couple swipes with a fine grit sandpaper. Then I wiped it down again with more cleaner to get the dust off.
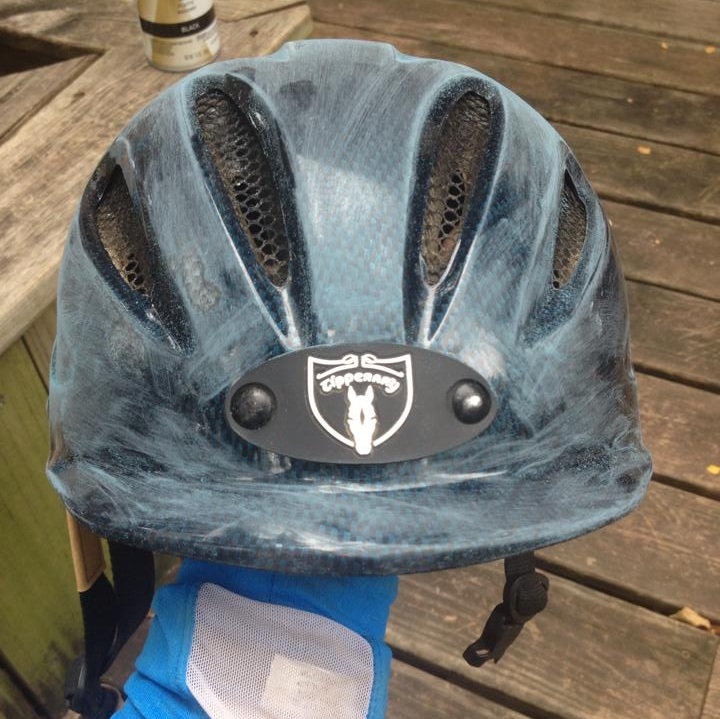
This helmet also required a lot more taping and covering, because of the harness. The tan part covers a good part of the back of the helmet plus some of the liner fabric is exposed around the ears so I spent a while taping and trimming to get it all just right, then stuffed the inside with paper towels and tucked up the harness underneath. I also took a while to get the front logo taped just right. Lisa said she didn’t care if I painted over it but it’s just not in my little OCD capacity to actually do that, so a-taping I went.
For this one I did three coats. The color was a little harder to cover well and I wanted to make sure it was all even.
This is after the second or third coat, still wet.
And inside later, after it had dried and I removed all the tape.
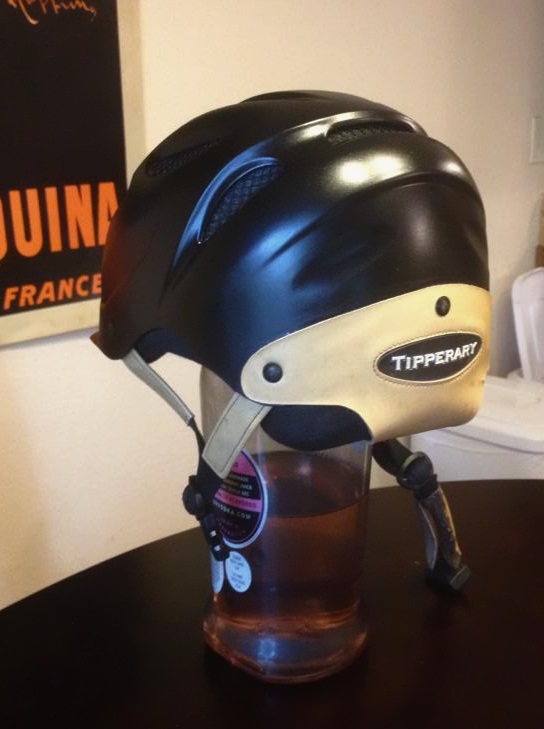
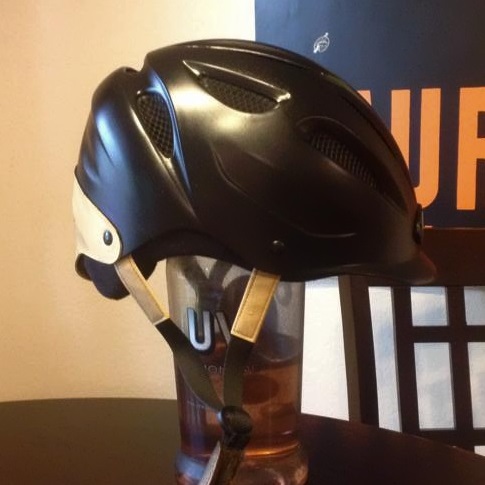
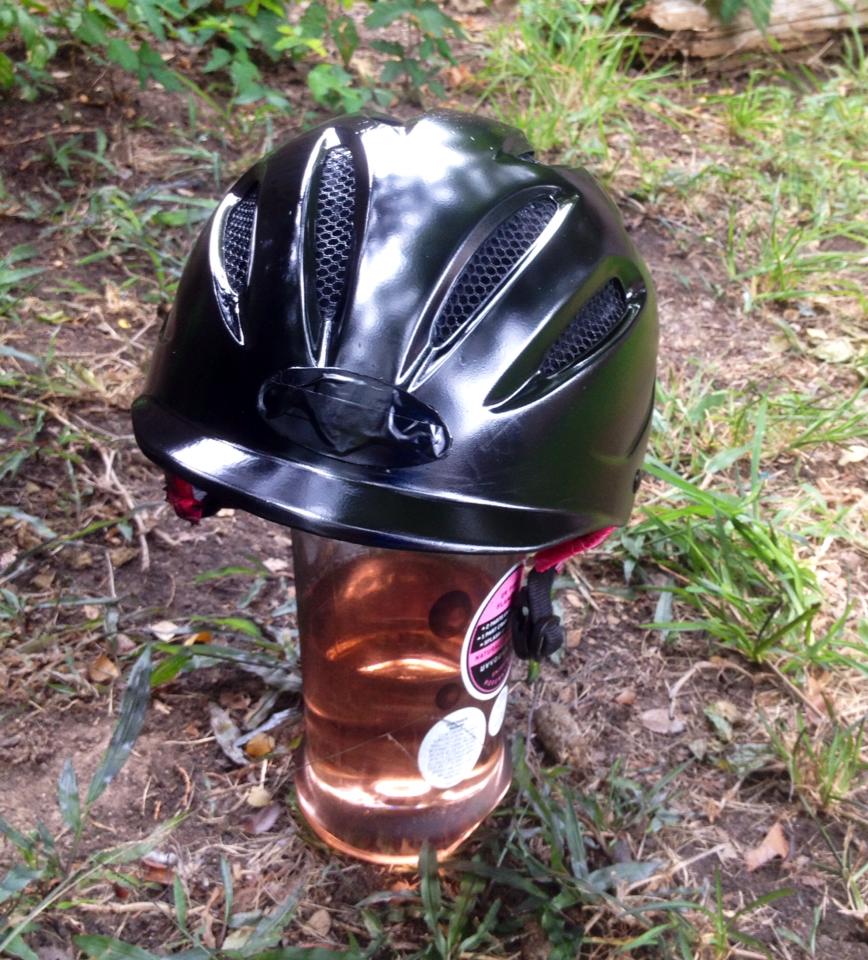
Hopefully Lisa likes her “new” murdered-out Tipperary! No more weird blue.
And yes, I’m having way too much fun with helmet makeovers.

Those look awesome!! I can’t believe the difference in the Tipperary!
LikeLike
They look SO. GOOD. Wow!!!
LikeLike
They look awesome! I have a very similar tipperary helmet that could use your handy work 🙂
LikeLike
Wow! How cool!
LikeLike
I LOVE this! I wish you could come do my old(er) Ovation schooler….hint hint 😉
LikeLike
It’s really easy, you could totally do it yourself
LikeLike
day-um, that tipp looks amazing! and, of course the GPA looks gorg. nicely done!
LikeLiked by 1 person
My favorite part of this post is the vodka bottle 😉
LikeLiked by 1 person
Keepin it classy, spray paint and vodka.
LikeLike
Mine too. It’s not just vodka, it’s UV. That stuff is about 50% poison, I’m pretty sure. 😉
LikeLiked by 1 person
That’s what makes it delicious.
LikeLike
The makeover makes quite a difference!
LikeLike
They look awesome!
LikeLike
Nicely done!
LikeLike
Looks like I’ve got a project to work on this weekend when the Hubs is gone MTBing. Now to pick a color…..
LikeLike
Yes!!!
LikeLike
They look great!
LikeLike
Wow! Such a difference, especially in the Tipperary! =)
LikeLike
So impressed with how well this turns out. Now I’ll be keeping an eye out for helmets that are cheap due to ugliness so I can get a deal and do a makeover. Lol
LikeLike
Seriously, I kinda wish I’d bought another GPA now so I could have a navy one too.
LikeLike
These look amazing!
I have always preferred the all-black GPA also, but couldn’t stomach paying full price for one. I got my old black/grey one (which i broke the peak off of) at a great price & almost bought the one you have, but couldn’t remember my size when i saw the good price…then i had to buy other things & my helmet was still technically fine although i looked ridic 😉
The “new” Tipperary looks really like some of the Uvex helmets from the side – it is deff way better now!
You should totally set up a helmet re-vamping business …it could fund further tack-ho splurges 😉
LikeLike
It’s SO easy to do it yourself. I know it looks scary but when I say I have zero crafting talent I’m not kidding. If you have tape and $6 for spray paint, you’re golden. All it takes is a few light coats and it looks amazing. Honestly the taping is the hardest part.
LikeLike
They look awesome!!
How does the paint wear after a few trips to the barn? Does it scratch off at all?
Great job!
LikeLike
It wears just like any regular helmet finish. It’ll scratch and scuff if you drop it or fall off. It doesn’t peel or anything weird though… just exactly like what you’d normally expect from a helmet finish.
LikeLike
You are so crafty!
LikeLike
Awesome!! I’m going to book mark this entry for whenever I get around to painting my cheap schooling helmet.
LikeLike
Can you do a follow up on how the spray painting holds up? I’m just curious if it dings up easily and needs to be redone to be show ready or if it holds it’s color well.
You know, because I have a suede helmet and show sooooooo much.
But still curious.
LikeLike
I can take pics of my brown one that I did a couple months ago if you want. But it looks exactly the same as it did right after I painted it. 😉
LikeLike
love these – they turned out so well. will you be monogramming the gpa too?
LikeLike
Yes! I already had one on it but obviously had to peel it off to paint. I ordered a new one (navy this time) to replace it.
LikeLike
Very nice! I feel inspired to do a little makeover job on my old Tipperary now!
LikeLike
Wow! I am particularly impressed by the Tipperary! Looks great. I’d love to know how the paint holds up over time
LikeLike
😮 That’s awesome!
LikeLike
You’re right- I can’t tell for a second it’s spray paint! Awesome! Now you have to try your hand at zebra stripes or something 😉
LikeLike
You’ve now inspired me to paint my lime green saddle stand! I’m sure working around the straps might be a bit of a challenge but I think I can handle it! I think a nice bronze or black color will look super!
LikeLike