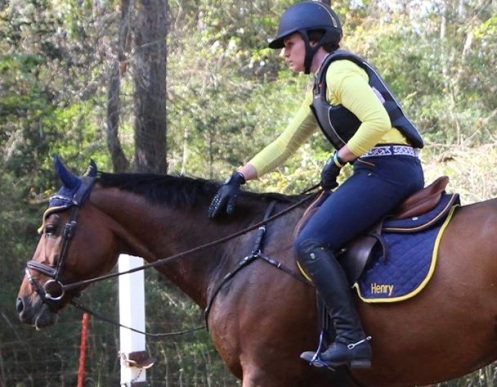
I’m late to the party on this one from The Red Mare, but this is what happens when I don’t have time to write a new post and have to pull from previously drafted ones. It still counts.
1. Mares or Geldings? Why? I don’t have a strong preference either way, but all other things being equal I prefer mares.
2. Green-broke or Fully Broke? Again, no real preference. As long as I like the horse, either is fine.
3. Would you own a “hotter” breed? Yes. I prefer a sensitive, forward-thinking horse.
4. What was your “dream horse” growing up? A 16.3h dapple gray warmblood gelding. That is no longer the case in any way, shape, or form!
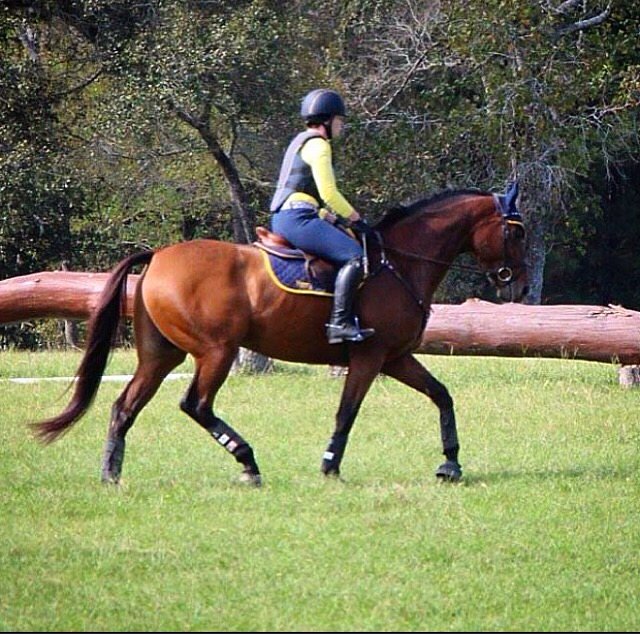
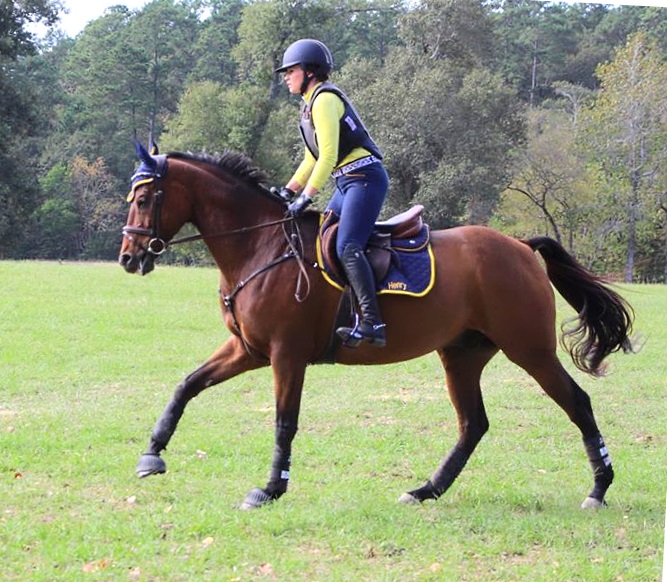
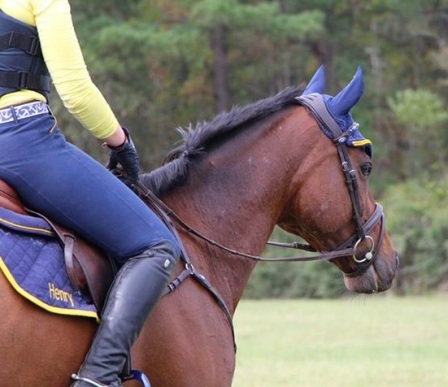
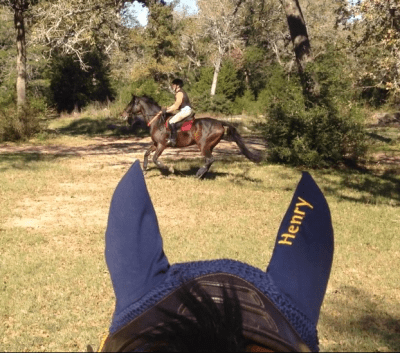
5. What kind of bit(s) do you use and why? A fairly fat KK loose ring, because it’s what Princess Henry likes. Sometimes I ride him in a hackamore too.
6. Helmets or no helmets? Always helmets. Pretty ones preferred.
7. Favorite horse color? Bay.
All bay, all the time
8. Least favorite horse color? Pinto or cremello or dominant white. Blue eyes creep me out, too.
9. Dressage or Jumping? No contest – jumping.
10. How many years have you been riding? 24. You’d think I’d be better at it by now.
11. Spurs/whip or no spurs/whip? Either or both, when circumstances call for it.
12. Your first fall? Not long after I started riding, but I don’t remember the exact circumstances. I fell off a lot as a kid, it all blurs together.
13. When was the last time you rode and what did you do? Yesterday, riding around so the vet could watch.
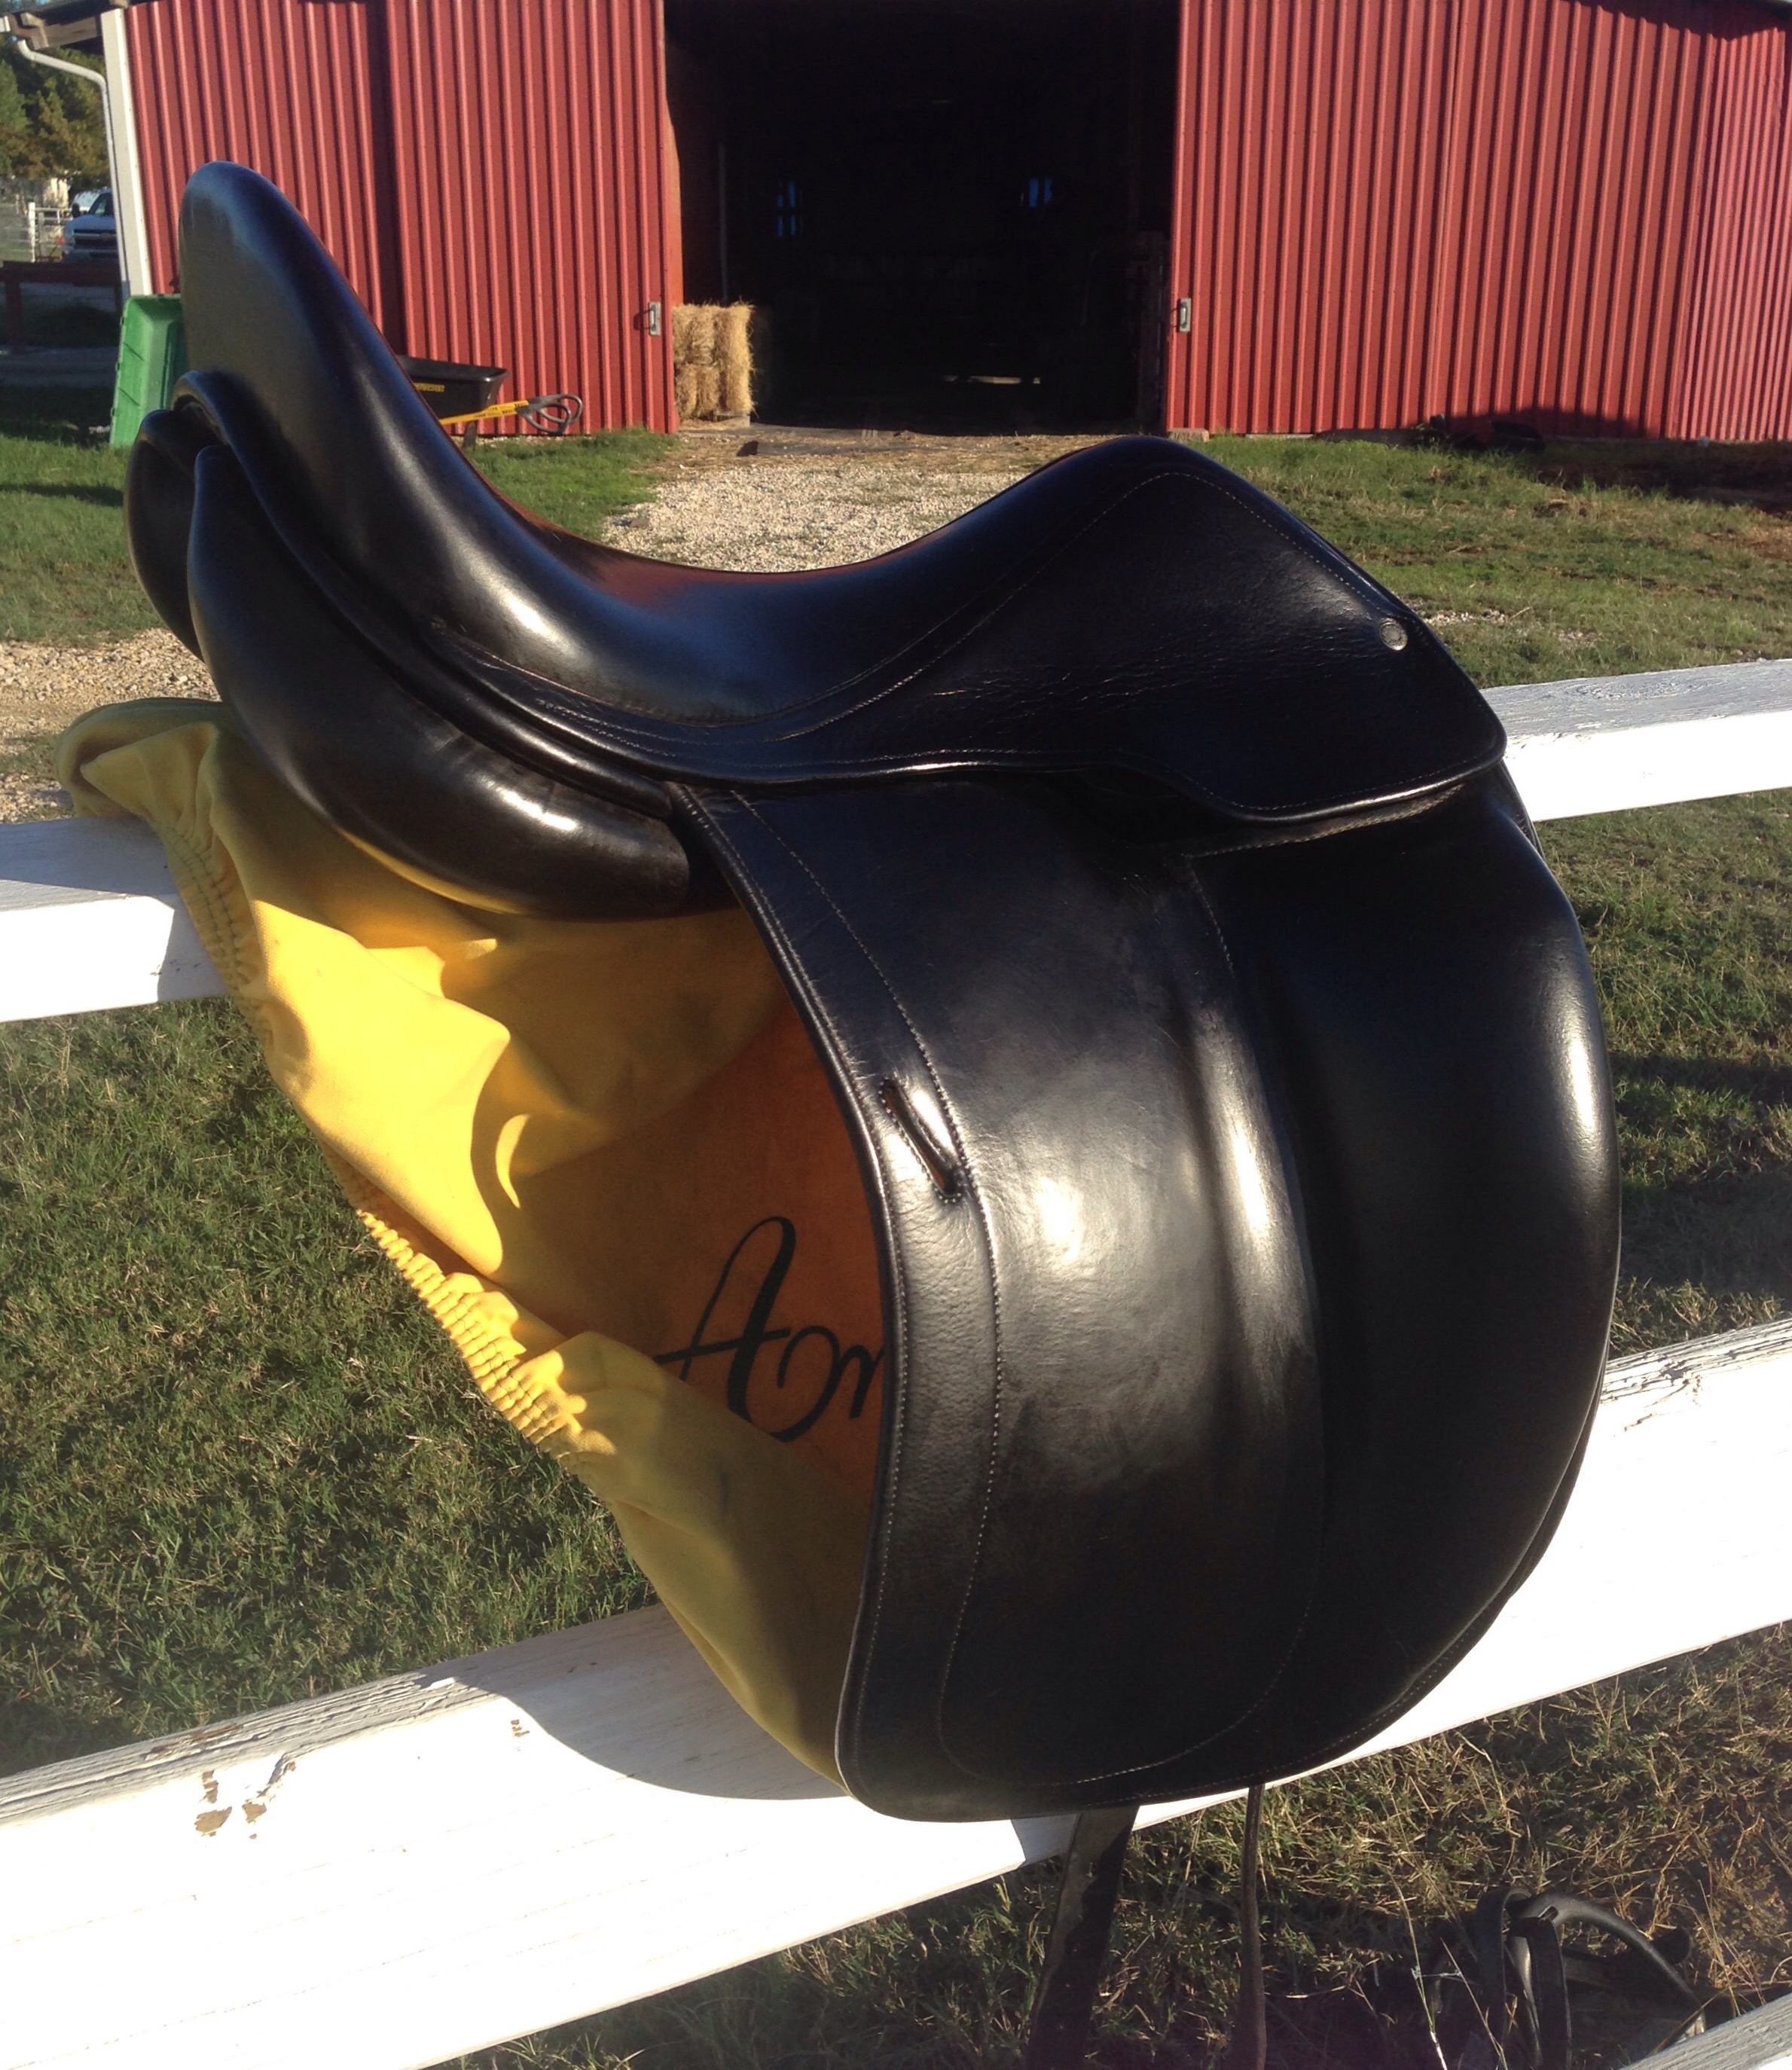
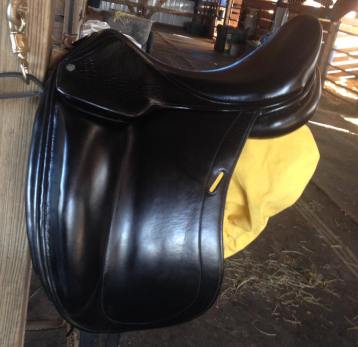
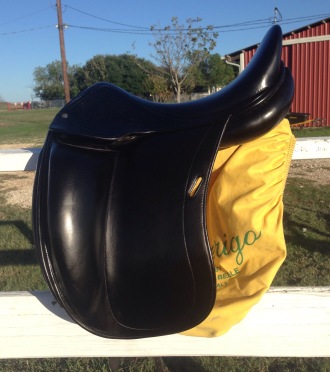
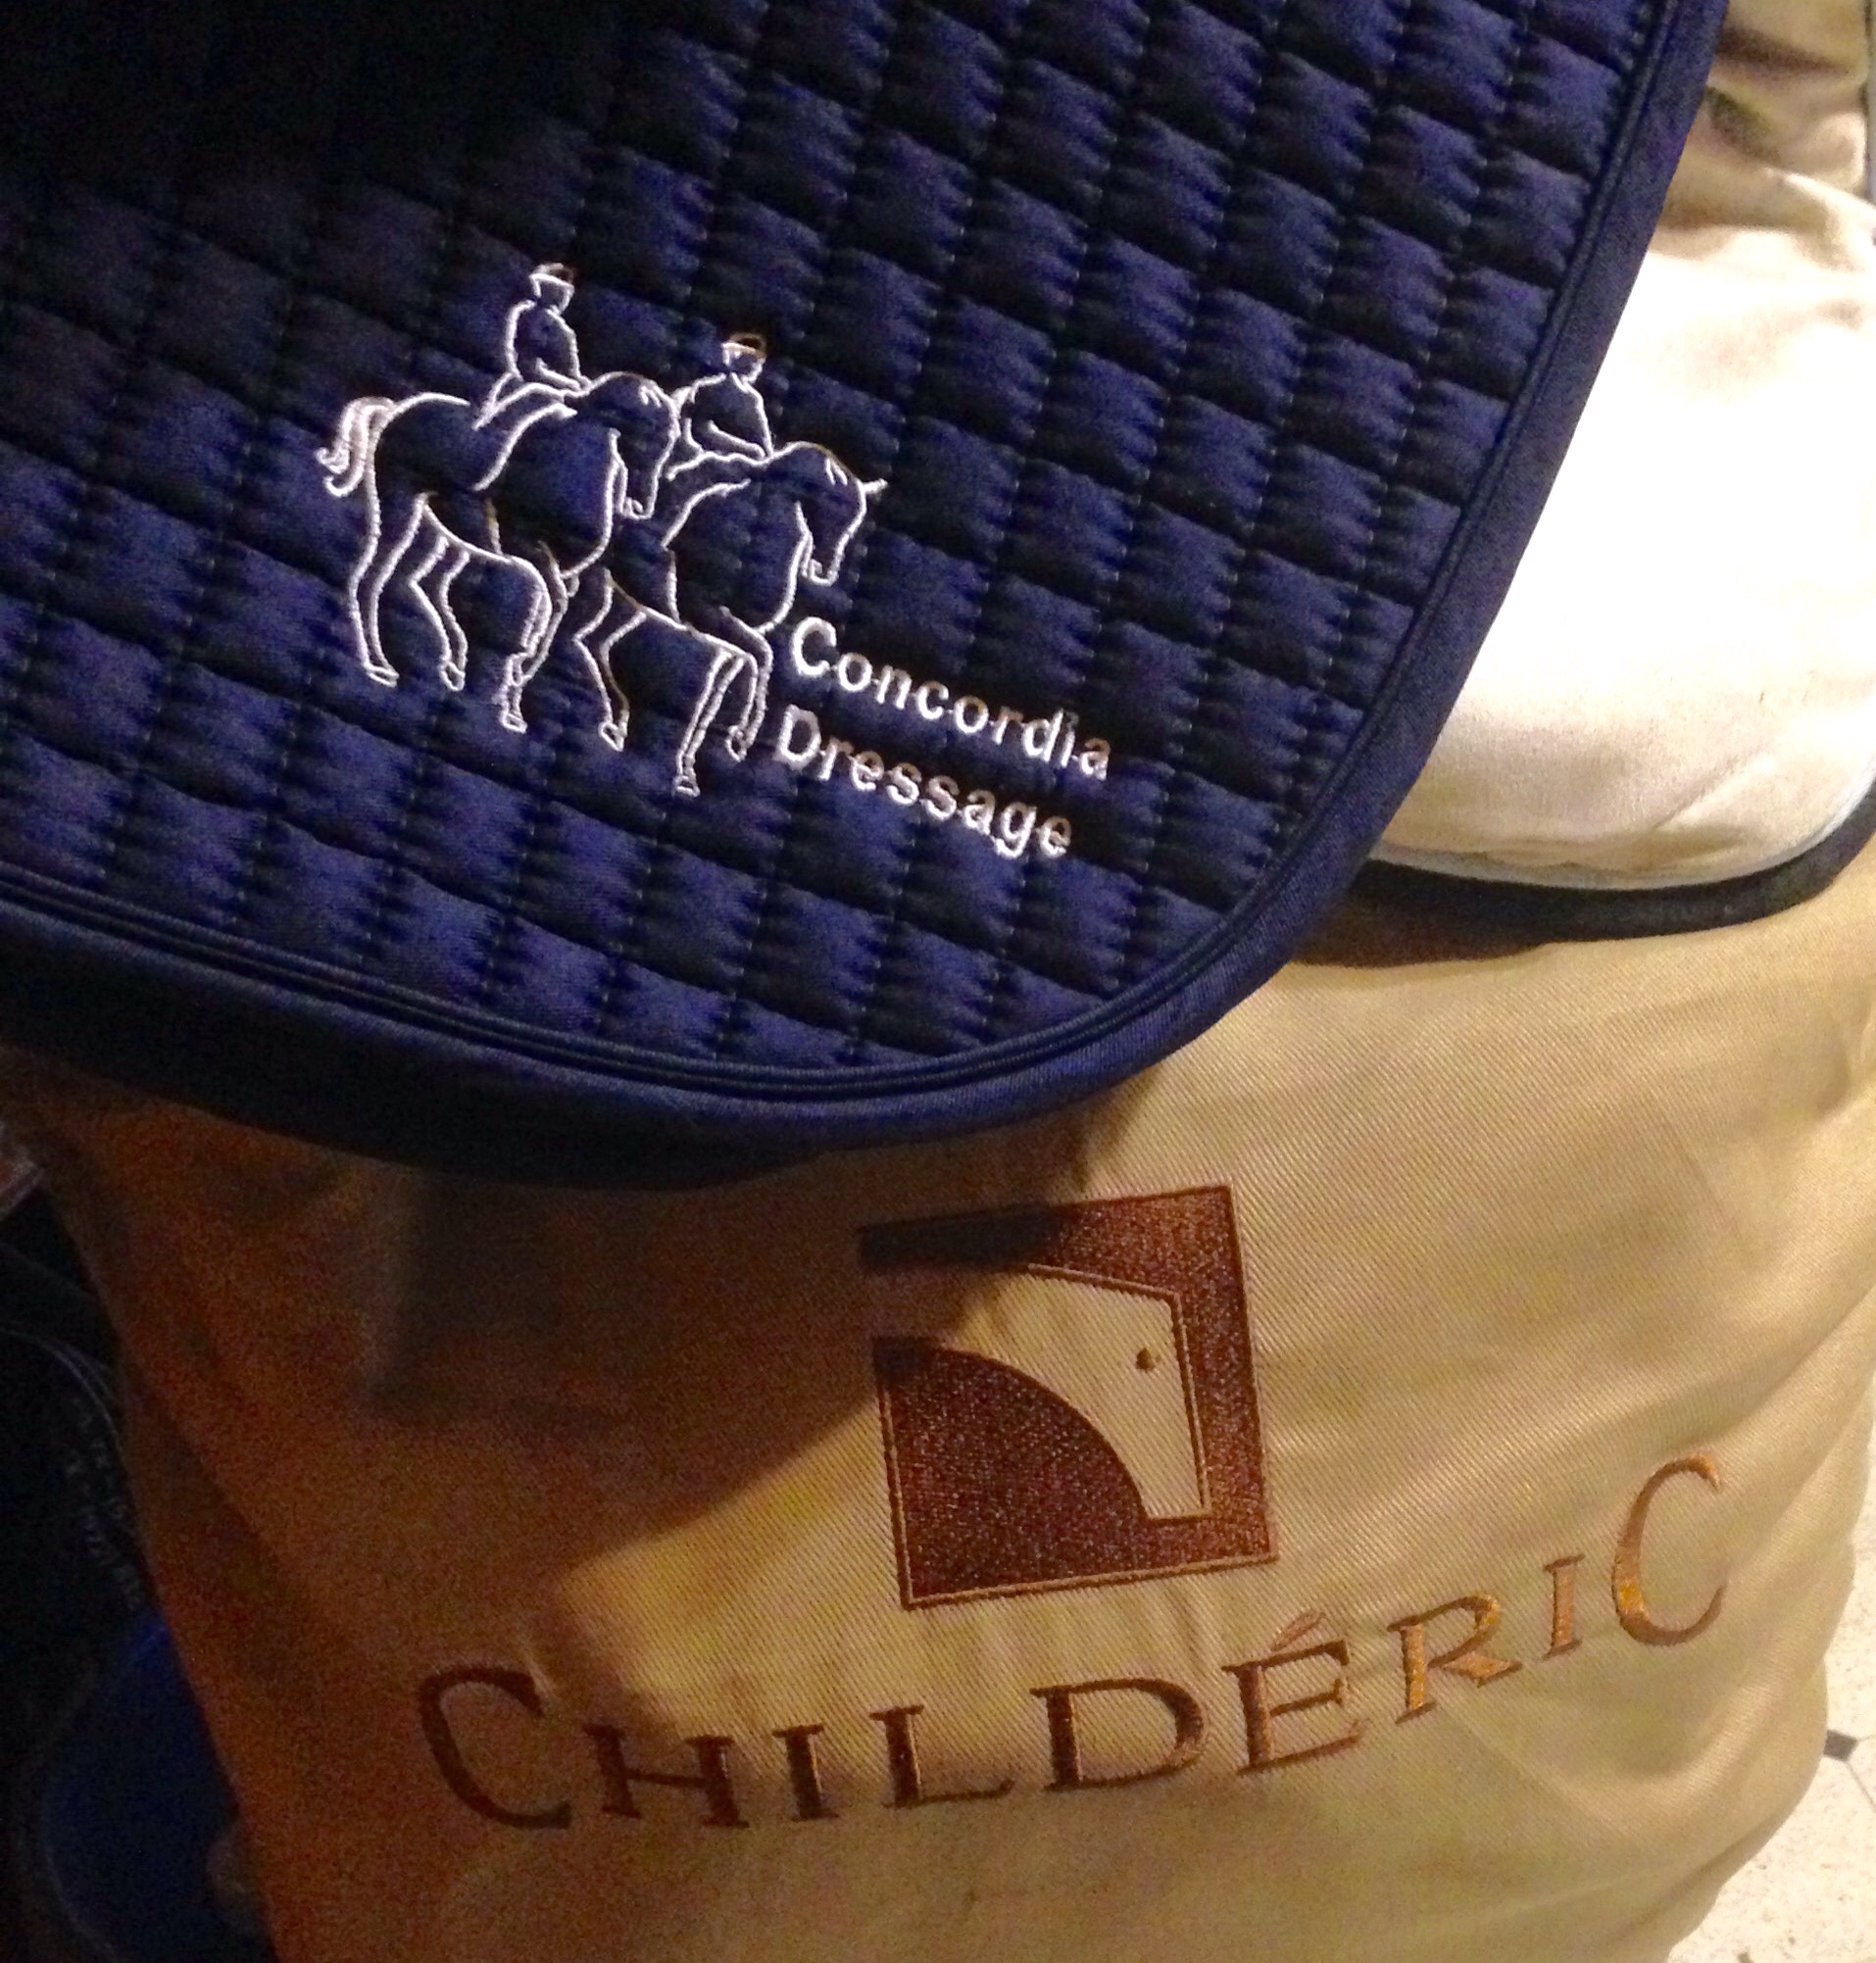
14. Most expensive piece of tack you own? Believe it or not, the Childeric dressage saddle that I just bought for $1295 is the most expensive, even more than my CWD. I try to be cheap frugal even though I love nice things.
15. How old were you when you started riding? 8 years old.
16. Leather or Nylon halters? Leather
17. Leather or Synthetic saddles? Leather. I’m not Bobby.
18. What “grip” of reins do you like? The Nunn Finer soft grip rubber reins are my favorite.
19. English or Western? English. Although when I’m old and can’t jump anymore I’ll get a reiner.
20. How many horses do you currently own/lease? I own two.
Sadie
21. Do you board your horse? Self-care/full board? Home board? Full board.
22. Have you ever had to put down a horse that you loved? Thank god no, not yet. Knock on a million different kinds of wood.
23. How many saddle pads do you have? Uh. A lot.
24. Slant-load trailer or straight haul? Straight load, for sure. Nothing over 15.3h seems to fit comfortably in your average slant stall, plus I think it’s harder for the horses to balance. During acceleration and braking they’re putting more stress on the right front or left rear vs balancing themselves equally on both front or both hind legs in a straight load. In a straight load they also have a lot more freedom of movement for the head and neck, so they can stretch their neck down and clear the lungs. Plus you can access whichever horse you want without having to unload the others. The only thing I don’t like about a straight load is that they have to back out, but with a ramp all of mine have backed out just fine.
25. Why do you ride? It’s the only thing that keeps me even remotely sane.
For the second weekend in a row I was able to have two very fun horse days. I know, it’s odd that it hasn’t rained 10″+ for like two whole weeks. Miracles never cease. Don’t worry, it’s gonna rain Thurs-Sat this week to make up for it.
Henry supervising Halo
On Saturday Bobby and I loaded up the boys and made the short journey to our dressage trainer’s barn for a lesson. We haven’t had a dressage lesson since… oh… August? and there was a pretty impressive 30mph wind that accompanied a cold front. I thought I might die but Henry was actually pretty good. His brain hurt by the end (“Haunches WHERE? But I just figured out how to put my shoulders there! Make up your mind!”) but he tried, and he wasn’t a total idiot even with the whole roof and barn rattling. We’ll call that a win.
I also learned two other very important things on Saturday:
1) don’t put sticky spray (even just a tiny bit) on your saddle and then put the new fleece lined saddle cover on it. Saddle will come out looking like it mated with a sheep, and it will take 10 minutes to defuzz it.
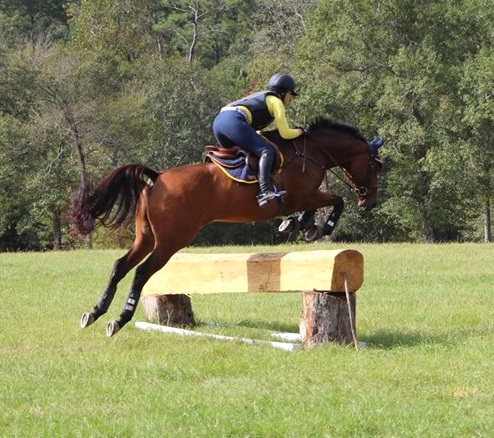
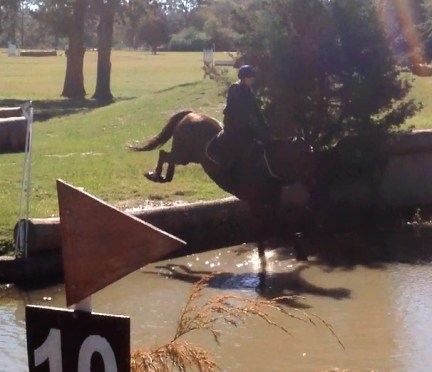
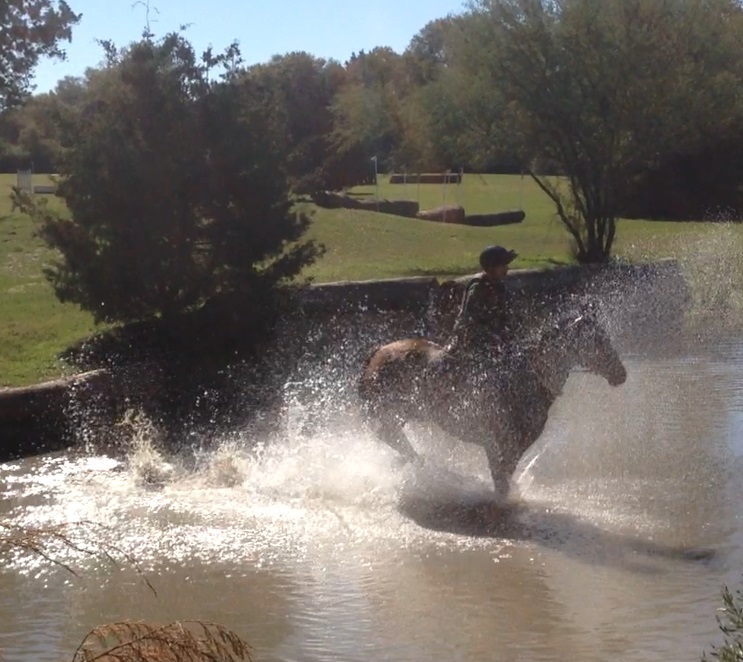
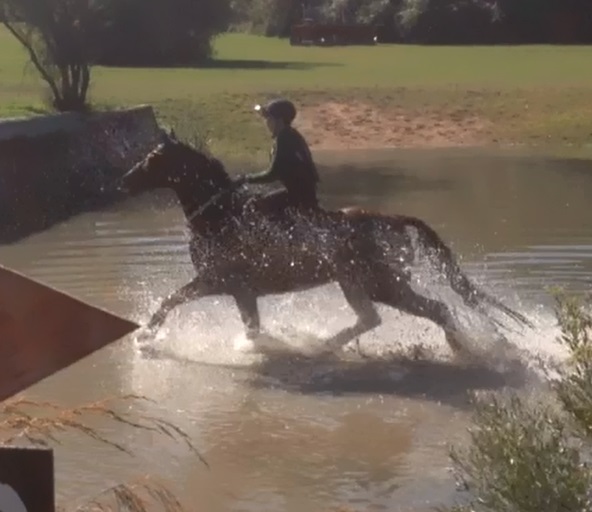
2) Baby powder is magic. My saddle has had the most annoying squeak coming from the bottom of the panel since I bought it. It’s been years since I had anything squeaky so it took a few weeks for me to remember the baby powder trick. I turned her upside down, doused her with baby powder in all of her cracks, shook the crap out of her to settle it deep in there, and voila, no more squeak. Magic. On Sunday Bobby and I loaded the boys in the trailer again, and this time headed out to Pine Hill to XC school. It was just an informal school with the two of us bumming around and having fun. I jumped a couple of Training fences and Henry was great, but I mostly schooled ditches and the bank at the water. It was his first time jumping a bank down into water and a bank up out of water, which he was also really good about. Nothing particularly exciting but it was fun anyway, because XC is always fun.
Henny make big splashSeriously, we were both soaked
Today the vet is coming back out to do lots of diagnostics to see if we can pinpoint that weird stabby thing that I still sometimes feel in the canter and the sometimes swapping out behind as he leaves the ground. Nothing like trying to find the cause of something very slight that you only feel when the horse has had a few days off. I suspect a hint of stifle arthritis but we’ll see. This all just sounds like cha-ching cha-ching to my bank account. That’s ok though. I’d rather try to figure it out now when it’s still no big deal than wait until it’s a problem.
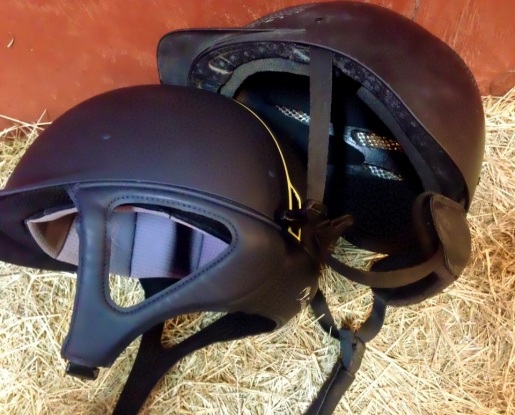
I love showdowns. Especially when it’s about helmets. Remember the days when everyone had a velvet helmet and that was pretty much all there was to choose from? I’m so happy those days are gone and now there are tons of different styles and options. Bling, color, lace, rhinestones… you want it, someone’s got it.
I’ve had my GPA Speed Air for years now, but as the time grew near for a replacement, I wanted to look at all my options a bit more. At AETA in January I was able to see, try on, and learn about tons of different helmets and really liked the Samshield. It had a lot of features I liked, it fit me well, and the fun part – it was fully customizable. I’m taking full advantage of the fact that I’m an eventer now and can buy whatever I want without caring about how “different” it looks. So now that I’ve had and worn the Samshield enough to form some opinions, I can draw some comparisons between the two. Don’t get me wrong, I like both of these helmets, but I’m gonna take the gloves off and get down to the nitty-gritty for the sake of comparison. Obviously this is all my opinion from my own personal experience and your mileage may vary.
Ventilation
GPA: Good ventilation is HUGE for me, being a Texan. Especially a Texan that sweats profusely. I had an AYR8 for a few years and never did feel like it had very good ventilation, which is why I went to the GPA after that. The Speed Air certainly has excellent ventilation, with those big mesh vents all over. It’s really my favorite part of that helmet.
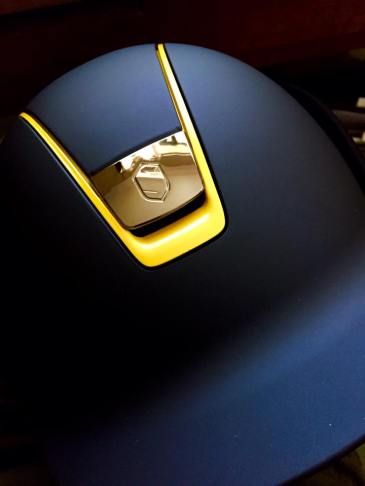
Samshield: The Samshield seems to have good ventilation as well, and in a bit of a prettier picture. The small vent hole in the front gives it a more streamlined look than the GPA, although I don’t feel as much of a breeze through it. I do feel the air coming in through the vent in the front of the Samshield, just not the full force all over breeze that I get through the Speed Air’s giant mesh vents.
Liner
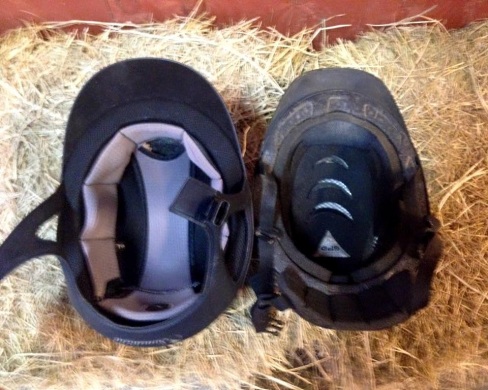
GPA: The foam lining in the GPA is nothing special, just your regular foam. While you can buy a replacement liner, and there are little Velcro dots inside the GPA that technically make the liner “removeable”, the Velcro loses its stickiness quickly and the liner itself consists of many seperate pieces. It’s not easy to remove on a regular basis to wash it, which makes for a funky stank that only a good odor spray can eliminate. The lining is comfortable enough, but nothing different from what 95% of helmets out there have.
Samshield: The liner of the Samshield is probably my favorite feature. I love being able to not only un-snap the entire liner to wash it, but also change the liner out for a different size. Another cool thing is that there are two types of Samshield liners – a regular Shadow Matt liner that has padding all the way around your head, and a Premium liner that leaves a gap on your forehead to help alleviate the pressure there. I love that my Shadow Matt can also accommodate the liner from a Premium, so I have two options for liners. I can easily change not only the size of my liner, but also the style of my liner, PLUS take it out and throw it in the wash when it gets gross. This is brilliant. I also like that it’s made from memory foam, which has a nicer feel to it than the standard cheap foam in the GPA.
Harness
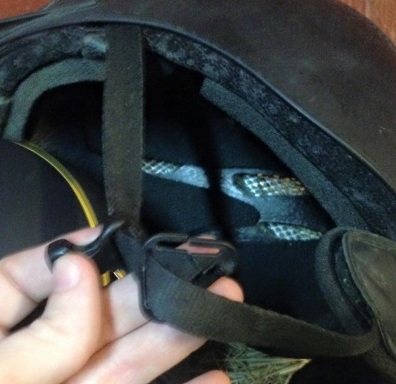
GPA: I hate the harness on the GPA. Hate. I don’t throw that word out here a lot, but it’s true. The exposed nylon looks cheap and the flimsy little velcroed-on pad under the chin never went back together correctly after the first time I unvelcroed it to adjust the chin strap. The little plastic things that are supposed to keep the straps properly arranged under your ears broke within weeks of me buying the helmet and do nothing to contain the straps. I also don’t like the big floppy piece on the back of the helmet, mostly because I think it makes kind of an ugly silhouette. Another thing I noticed is that it seems like the chin strap loosens itself as I wear it, and every couple of months I have to shorten it back up. Maybe my fat chins are just really strong, but that sure didn’t make me feel like it was the most secure thing in the world. The harness is the worst feature of what is otherwise a nice helmet.
Samshield: The Samshield harness on the other hand is pretty nice. It’s a solid covered piece and padded with memory foam, which IMO looks a lot more attractive than a nylon strap. It’s cut to sit more forward under your chin, which feels a little odd at first, but I stopped noticing it after the first couple days. I think that this cut and positioning make it much more secure on my head, and thus makes it feel safer. Granted, since the harness is bigger and thicker it does cover more of your face. I’m ok with that because I don’t notice it, but some people don’t like it.
Customization
GPA: GPA has started to offer cool things like bling and a few colors of piping, but a fully customizable helmet is not happening for the average person. Granted, most people (especially our h/j friends) just wear a “plain” or “normal” helmet anyway.
Samshield: With tons of color and material options, I don’t think any other helmet manufacturer on the market offers more customization options than Samshield. You can go pretty much as plain or as crazy as you want.
Price
GPA: I was able to nab my Speed Air on closeout for under $300, but regular retail price from Dover is $599.
Samshield: Along with all those custom options comes a wide range of prices for a Samshield. The basic Shadow Matt starts at $420 from Dover… mine with the custom yellow trim is right around $550 retail.
Fit
these are actually the same size, I promise. I just can’t center a photo.
GPA: I bought my GPA with a pretty snug fit, because everyone swore they compress a lot as you wear them. I wish mine had done that but it never really did, so it’s always been tight and leaves a red spot on my forehead with my hair tucked under it. I have a definite long oval head shape and the Speed Air, while being the most long oval GPA model I’ve ever put on my head, still isn’t quite long oval enough to be perfect for me. Not the helmet’s fault, just a matter of head shape and shell shape.
Samshield: The shape of the Samshield definitely suits my head better. I bought this one fitting a bit snug too, and it has molded to my head shape pretty well. It’s still just a touch tight across the forehead when my hair is up, so if it doesn’t compress more within the next month I’ll either buy the next liner size up or get the Premium liner that doesn’t have padding along that part of my head. Pretty nice to have the option to play with the fit a little!
Quality
GPA: Aside from the much-hated harness, I’ve been happy with the quality of my GPA. It’s managed to survive years of living and horse showing with me, so it must be pretty durable. I was worried that the mesh vents might dent or come apart over time but they’re still holding up well.
Samshield: Everything about the Samshield just oozes quality. The construction is beautiful and the lines are elegant, although I do think that it’s very smooth finish will be more prone to scratches. For that reason, it’ll live in it’s little Samshield bag. My only real concern is for the chrome air vent – there were issues in the past with the finish flaking off, which Samshield says they have since fixed, so we’ll see as time goes on. Fingers crossed.
*** please excuse Bobby snickering when I say I have a long oval head. He’s so immature. ***
Overall, there are pros and cons to each helmet. I love how light and airy the GPA Speed Air is, but that harness is a huge detractor for me. Putting aside all the superficial things, the harness makes me nervous as a possible safety issue. I don’t like that it loosens itself or that the plastic pieces broke right off the bat. Because of that, and the customization options and snap-in liners, Samshield takes the win for me. Thanks Luxe EQ for the beautiful helmet!
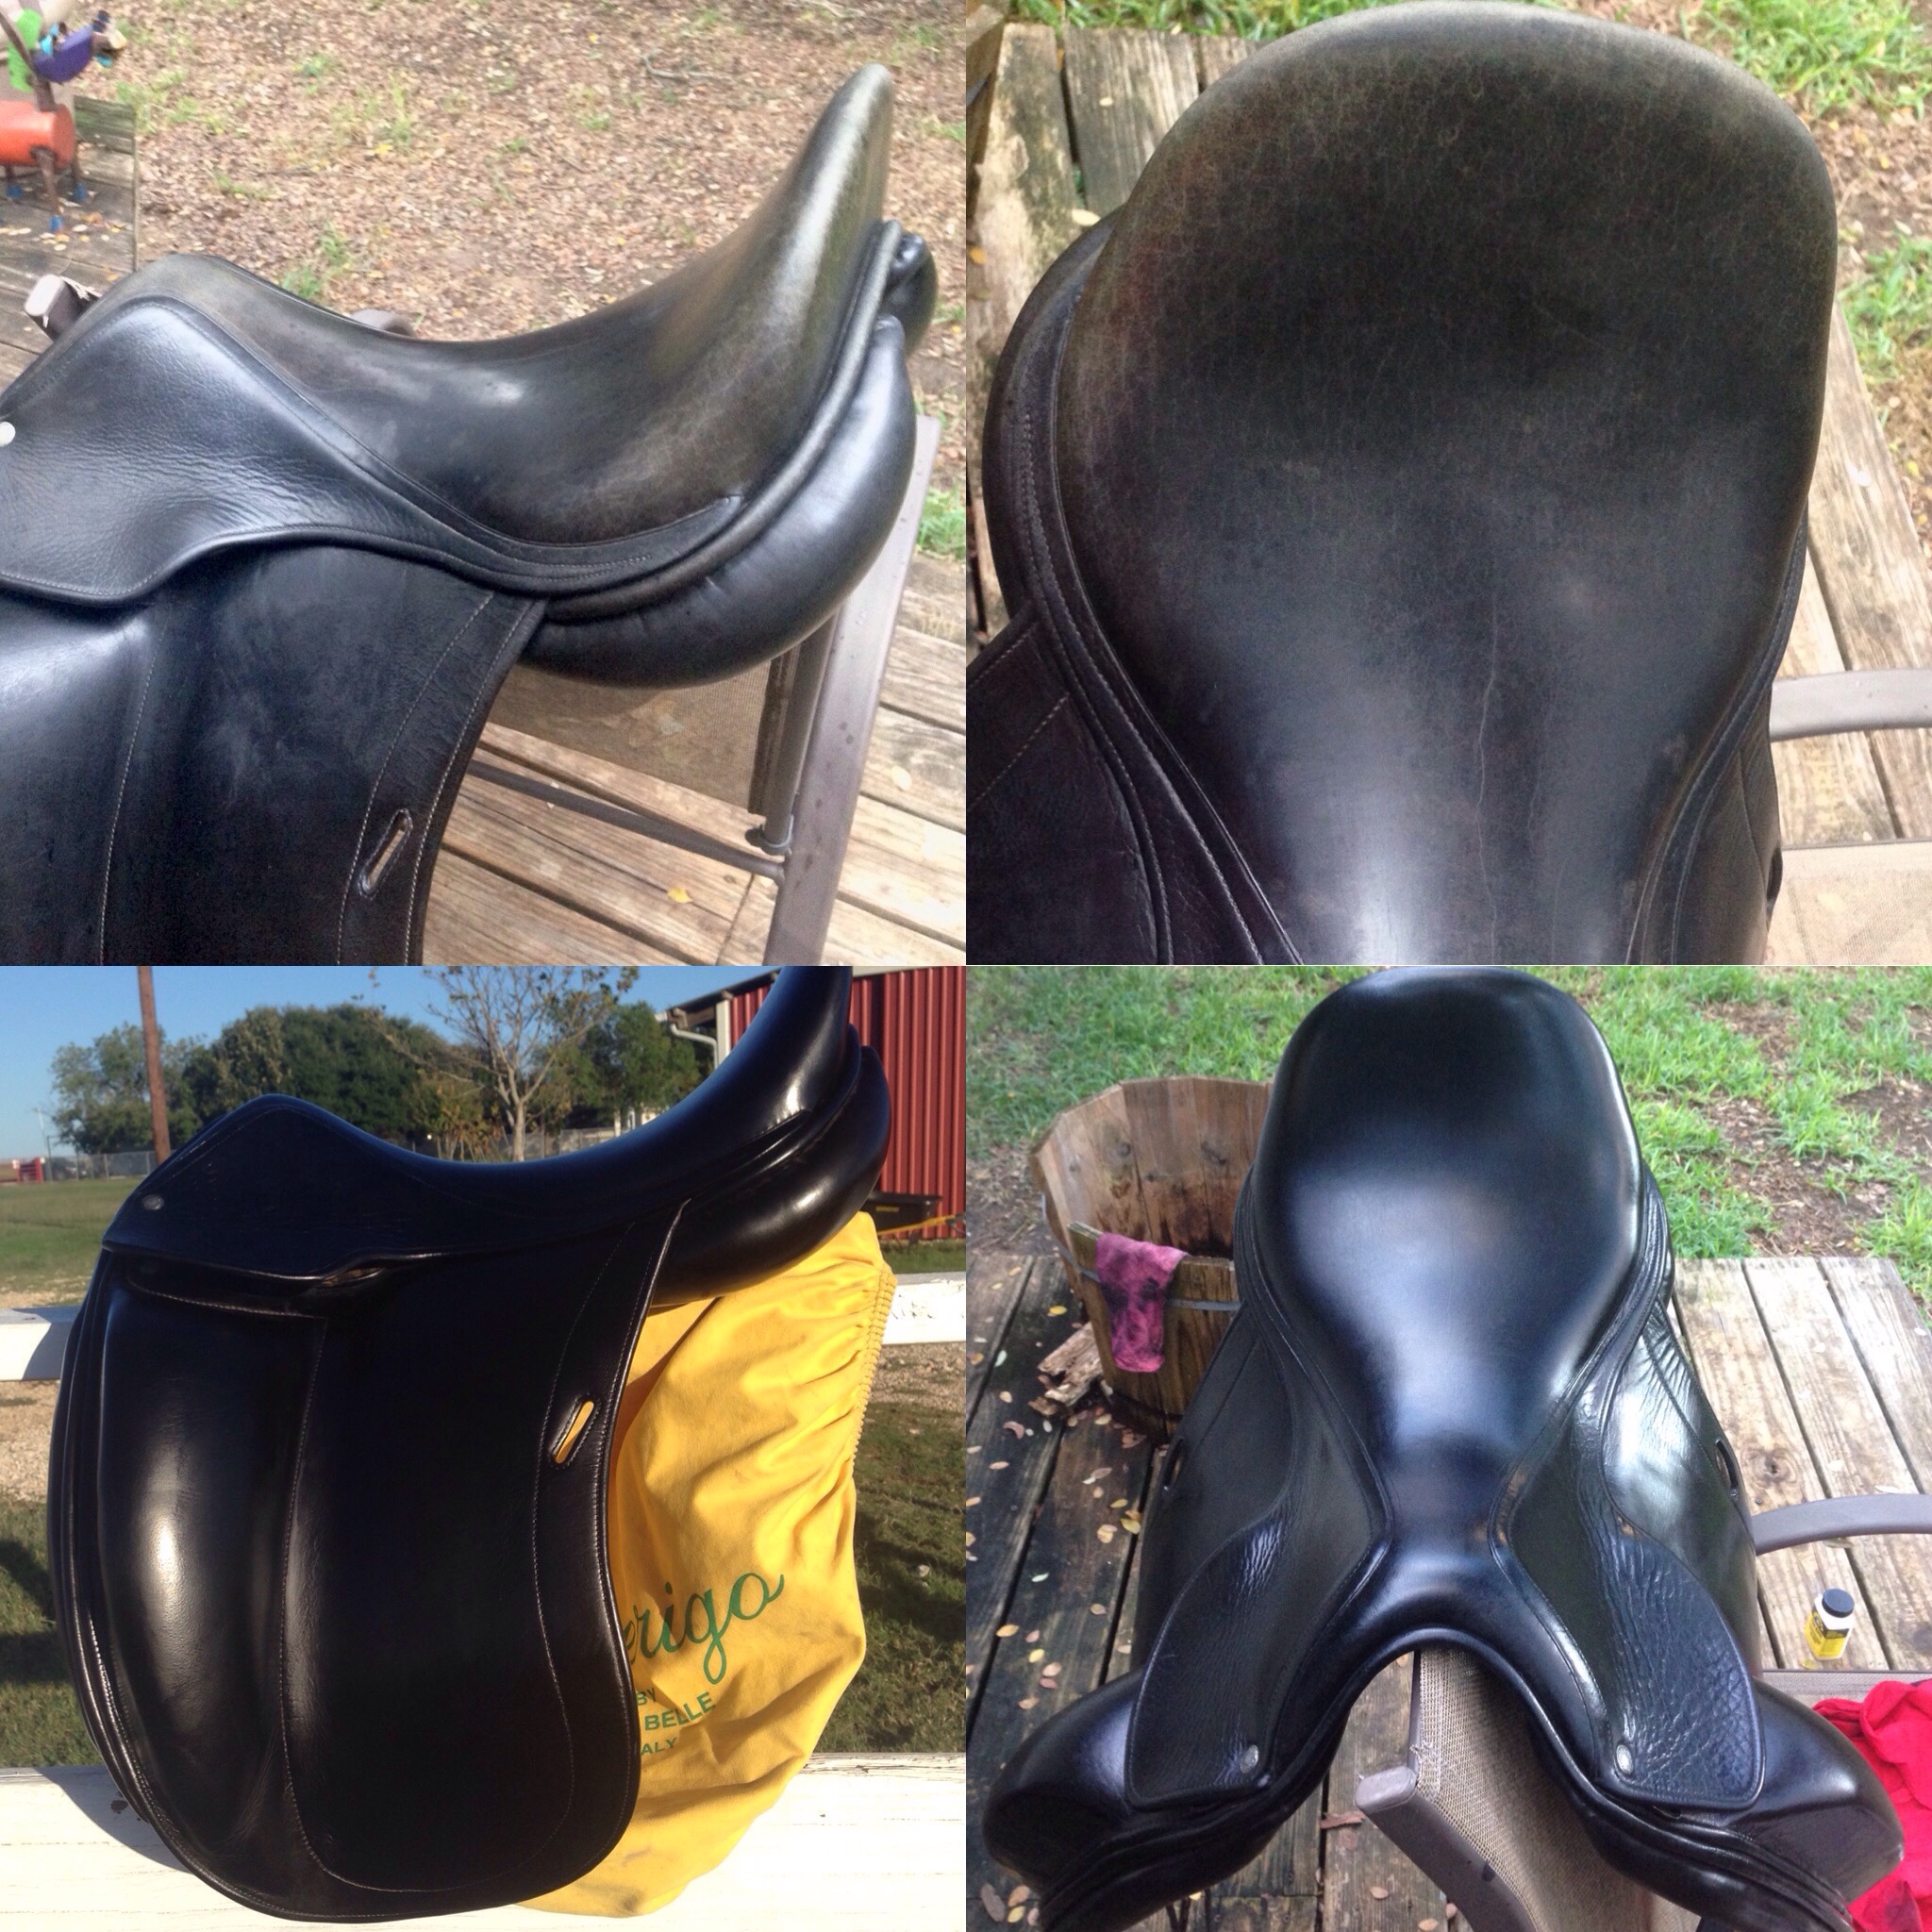
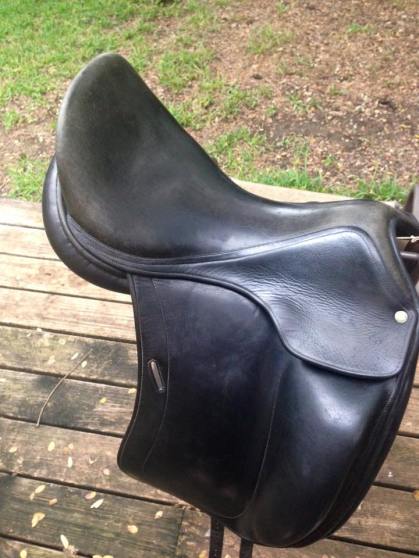
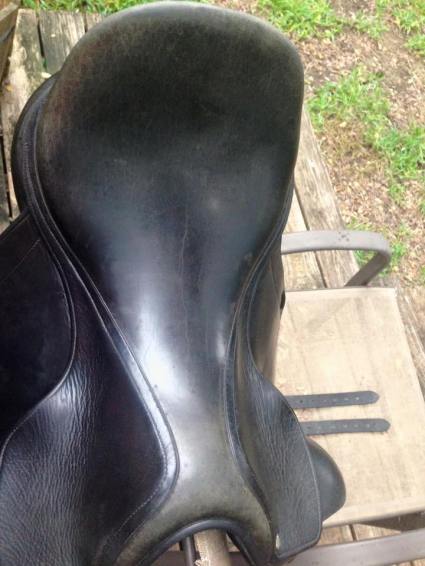
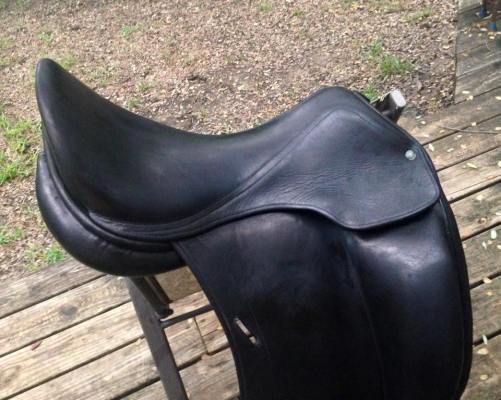
While I love my new-to-me Childeric dressage saddle, I was not thrilled with it’s appearance. The seat had faded to a sickly looking shade of green, with splotches of uneven color complete with old mold spots. The flaps were in better shape but the front of the knee roll area on both sides was starting to look green and scratched as well. A very thorough conditioning helped a lot, but the faded greenish pallor persisted. I had read a lot online about dyeing saddles, and since I dyed a pair of tall boots a while back I’m a little less scared of the process in general. So I scoured the internet for tips, ordered my supplies on Amazon, and bolstered my bravery. Oh yeah, and I had a hard cider before I started. Liquid courage helps. Several of you asked me to share the process and results here, so… here ya go. I’m not saying this is the best or the only way to do it, but this is what I did. I know it looks like a lot of writing, but that’s only because I tried to be as specific as possible. It really isn’t hard at all, don’t be deterred by my rambling.
top: before, bottom: after
First up: Supplies. I went with all Fiebing’s products because a) that’s what I used on the tall boots, b) that’s what most of the online folks were recommending.
Deglazer (which I think is just acetone but I wasn’t taking any chances with getting the wrong thing)
Brushes (I used foam, but microfiber or regular paint brush would work too)
Rags (tons – the microfiber ones from the dollar store work great)
Latex gloves
toothbrush
your adult beverage of choice
I bought all the Fiebing’s products and foam brushes from Amazon for $35 with free shipping, and the rest I already had lying around. Not a bad investment.
adult beverage missing from photo because it was already consumed
First I cleaned the saddle thoroughly, then went at it with deglazer and a rag. I wet the rag with deglazer and started rubbing in circles. This removes the clear top coat from the leather. Without this step the dye won’t penetrate the leather very well, so while scary to rub what is essentially fingernail polish remover all over your saddle, it’s important. Just take another chug of your adult beverage, you’ll be fine.
the gross seat
Once you’ve removed the top coat (you should be able to tell once it’s gone, the saddle will look very matte and thirsty all over), let it dry thoroughly. Take a few more chugs of that adult beverage, pull on your gloves, grab your brushes, and start applying the dye. It was a little bit of trial and error for me to figure out which method I liked the most, but by the third and final coat I decided that I preferred to get some dye on the brush (not much, you don’t want it running all over the place), paint it onto the saddle, and then rub it in with a rag. That made the color very even and it absorbed into the leather well. I did one area of the saddle at a time – the seat, then the back and panels, then each skirt, then each flap. To make sure I got into all the little cracks and crevices I used a toothbrush. By applying the dye in sections, it helped keep everything “under control” a bit better. You don’t really need a lot of a dye to get the job done – I used less than half of a 4oz bottle with three light coats.
first coat of dye
Between each coat I let the saddle dry for about an hour, and after all 3 coats were applied I left it to dry overnight. The next day I took a clean rag and rubbed (in circles, circles are your friend throughout this entire process) all over the saddle to help lift off excess dye.
Then I got out my Tan-Kote, poured some onto a rag, and started putting on a top finish. Some people only use Tan-Kote, some people only use Resolene… the results that I found online that I liked the most used both, so I used both as well (it’s also good to note that Resolene is water resistant and Tan-Kote is not, so Tan-Kote is more of a finish and Resolene is more of a sealant). Tan-Kote is resin based and feels sticky as you’re applying it. Don’t worry, just keep rubbing it on in a thin, even layer. As it dries the stickiness will go away.
Once the Tan-Kote dried, I again buffed the saddle with a clean rag. At this point very little dye was leeching onto the rag, but there was still a bit of color transfer. Time for the Resolene. I applied this stuff the same way, although it was very runny and watery compared to the Tan-Kote. When you first rub the Resolene onto the leather it leaves a white-ish blue film that is semi alarming, but it quickly turns to clear. For me this was the trickiest step, because if you didn’t get the Resolene fairly even, you could tell as it dried. It wasn’t difficult, you just had to pay attention and not glob it all over the place. For that reason I opted to do three very thin layers, allowing it to dry between each one. I also recommend doing it in an area where you have really good light (direct sunlight is best).
Post-resolene.
Once it was dry I buffed it again, put on a light coat of lederbalsam, and voila -all done!
When I first mentioned this project, lots of you were concerned about the dye leeching out onto your breeches. Here’s a dry paper towel (left) and a wet paper towel (right) that I rubbed on the seat as hard as I could for 20 seconds:
no dye
When properly sealed, dye leech shouldn’t be an issue. The Resolene is what provides this barrier. Important to note – once you seal the leather with Resolene, the pores will no longer take oil. If you want to still be able to oil the saddle, stick with the Tan-Kote. That said, without the Resolene you would get some dye leech. Just something to be aware of while weighing the pros and cons of each type of finish – it really comes down to personal preference. Once you’ve sealed it with Resolene, you’re really only going to be able to condition with lederbalsam type products (which is typical of any kind of sealed leather, such as Sedgwick).
Considering that it cost only $35 and a little bit of elbow grease over the course of two days, I would definitely call this one a worthwhile DIY. For value I’d give it 5 out of 5. I think the saddle looks so much better, and with minimal investment. For difficulty I’d say 2 out of 5. Dyeing a saddle is definitely not rocket science, it just requires a little bit of patience and common sense.
Since my group didn’t go until mid-day on Sunday, I spent all morning watching other groups do cross country. I noticed a theme throughout – tired horses. Considering we’d done over an hour of ring work the day before and jumped a lot of fences, this wasn’t surprising. I got on Henry thinking that he too might feel a little tired and stiff. HA. HAHAHAHAHAHA.
not tiredstill not tired
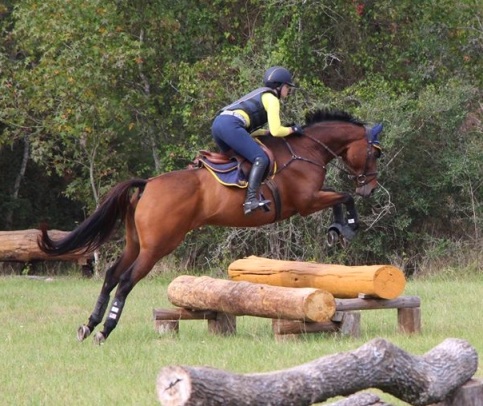
As soon as he realized we were walking out to the XC field he started jigging. I made him walk politely while he pouted, waiting for me to so much as breathe heavily so he could pretend I’d asked him to canter. Note to self – Henry is plenty fit. After a brief warm-up we trotted a teeny log, which he leaped over with such gusto that he popped me out of the tack. Oh boy, here we go. We cantered a few logs, then did a little mini-course. If horses could smile Henry would have been ear to ear galloping around the field. At this point I tossed my whip in the golf cart lest I die or end up getting dragged all the way to Louisiana.
not lacking enthusiasm for tiny logsHenry’s idea of the best day everDefinitely still not tired
Once we started going, he settled in and got down to business. We did another small course, working on using the terrain to help with half-halts, and more emphasis on upper body position just like on Day 1. He was definitely dragging me a bit, and when he gets heavy like that he tricks me into dropping my shoulders, then we kind of end up in a heavy little ball together. Hawley said to think of it as keeping my hips forward when he does that, which for some reason really clicked in my brain.
After that we headed over to the banks and water. My ground crew didn’t make it over there so no media from that part, but we popped up and down a bank (Hawley said she prefers to trot down banks, even at Advanced, so the horses really have time to look at where they’re putting their feet and understand the question), through the water and out over a fence, and did some jumps after the bank so we could practice a quick recovery after slipping the reins. Again the focus was on upper body position on the approach (vertical) and the proper canter (forward and uphill).
Everyone is impressed with me, right?
Hawley is also not a fan of letting the horse break to trot for the water… the water naturally makes the horse’s stride flat and long, so if we ride into it backwards, we don’t have enough good uphill forward energy to have a good ride out of the water. It’s the rider’s job to keep the canter forward and uphill, keeping the leg on and the energy in the step so that the horse doesn’t get bogged down and flat. Trotting the down banks and keeping a forward canter into the water is exactly what I’ve been doing with Henry, so it was good to hear that Hawley’s approach is the same. She also made a good point here that when you ride an upbank, the horse’s first stride after jumping up is naturally shorter than a typical stride (usually about 9′ as opposed to 12′). Because of that, it’s very important to land with your leg on and keep coming forward, especially if you have another fence right after.
After that we went into the woods to the ditches. Hawley asked how my horse was about ditches and I said that either he doesn’t notice them or he just jumps them greenly, so of course Henry trotted up to it and went WHAT THE HOLY HELL IS THAT and slammed on the brakes. Granted, it was a deep ugly ditch and most horses felt the same way. It took some cajoling but he leaped over, so we just kept trotting the ditch until he settled. I watched a couple of the other groups school the ditches too and Hawley was really great with the green ones here. Their only choice was forward, but she gave them time to understand that it was no big deal, not a monster, and made sure the horses were immediately rewarded when they jumped it. She said that she isn’t a fan of yelling and beating and scaring the horse into jumping – that it makes them just run at things out of fear instead of thinking their way through the question, and makes the rider look uneducated. Just give them time to understand and repeat the exercise until they’re relaxed about it. All the horses got it, and they were all calm by the end.
Once they were all trotting calmly over the ditch she built up a two stride to one stride coffin, then around to a vertical, two strides to an angled wall. We had to keep a good bouncy coffin canter and be very straight for the exercise to work. Henry was great here, and it was his first time jumping through a full coffin exercise. We let the horses be done with that, and Henry strutted the whole way back the barn. Ending an XC school with a confident horse is always a good sign.
The clinic was great, Hawley has a lot of horse sense, and we learned a lot. Given the horses that Hawley has had success with in the past, I guessed that she had to be a tactful, sensitive, thinking type of rider, and that’s exactly what came across to me throughout the weekend. I’m very careful about who I ride with, since Henry is so, uh… mentally delicate. All it takes is one wrong reaction or one too many buttons pushed to cause a come-apart for him, but we never even got close to that point. He was happy and relaxed and confident the whole time. Hawley’s approach was really in line with what my trainer teaches and what I believe is correct, so it was a great building block to add on top of what we’ve already been doing. She demands a thinking, focused ride but she is still very kind and very fair. I would definitely ride with her again! On to Buck in 3 weeks…

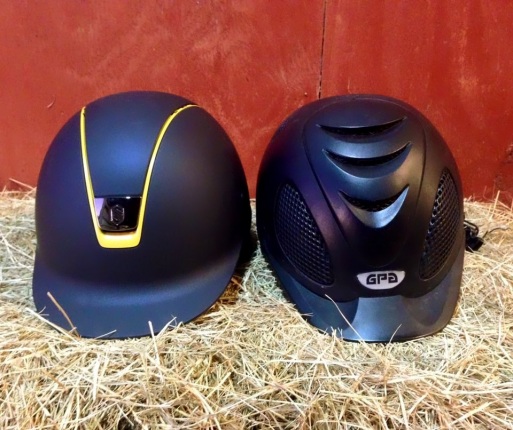 I’ve had my GPA Speed Air for years now, but as the time grew near for a replacement, I wanted to look at all my options a bit more. At AETA in January I was able to see, try on, and learn about tons of different helmets and really liked the Samshield. It had a lot of features I liked, it fit me well, and the fun part – it was fully customizable. I’m taking full advantage of the fact that I’m an eventer now and can buy whatever I want without caring about how “different” it looks. So now that I’ve had and worn the Samshield enough to form some opinions, I can draw some comparisons between the two. Don’t get me wrong, I like both of these helmets, but I’m gonna take the gloves off and get down to the nitty-gritty for the sake of comparison. Obviously this is all my opinion from my own personal experience and your mileage may vary.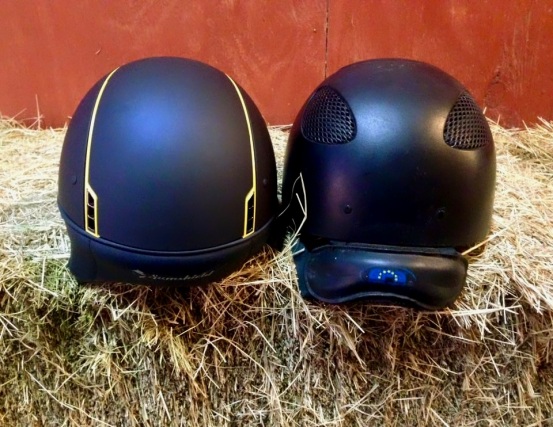
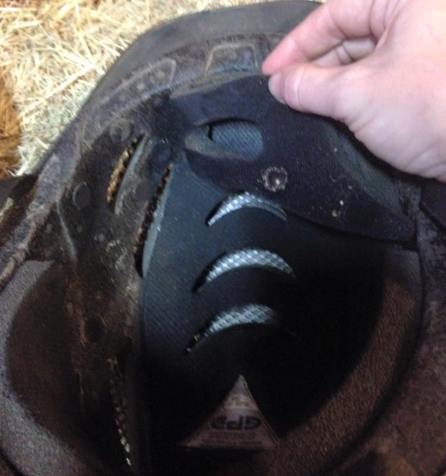
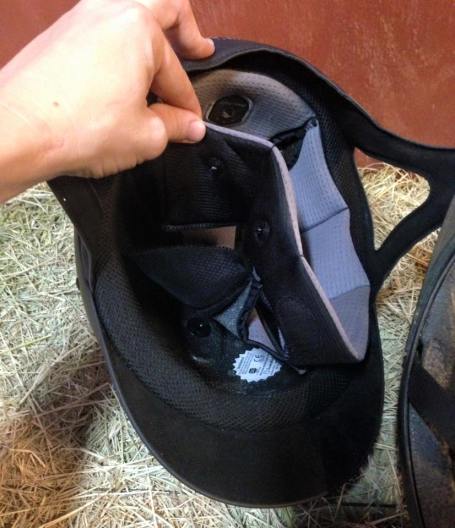
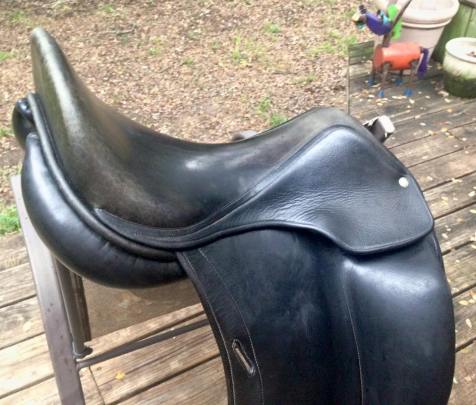 I had read a lot online about dyeing saddles, and since I dyed a pair of tall boots a while back I’m a little less scared of the process in general. So I scoured the internet for tips, ordered my supplies on Amazon, and bolstered my bravery. Oh yeah, and I had a hard cider before I started. Liquid courage helps. Several of you asked me to share the process and results here, so… here ya go. I’m not saying this is the best or the only way to do it, but this is what I did. I know it looks like a lot of writing, but that’s only because I tried to be as specific as possible. It really isn’t hard at all, don’t be deterred by my rambling.