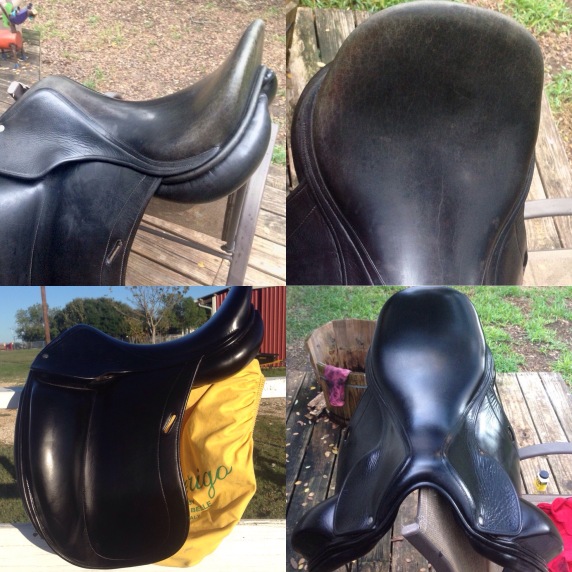
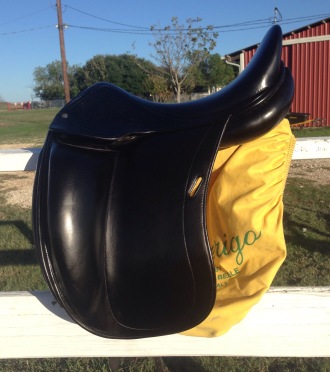
While I love my new-to-me Childeric dressage saddle, I was not thrilled with it’s appearance. The seat had faded to a sickly looking shade of green, with splotches of uneven color complete with old mold spots. The flaps were in better shape but the front of the knee roll area on both sides was starting to look green and scratched as well. A very thorough conditioning helped a lot, but the faded greenish pallor persisted.
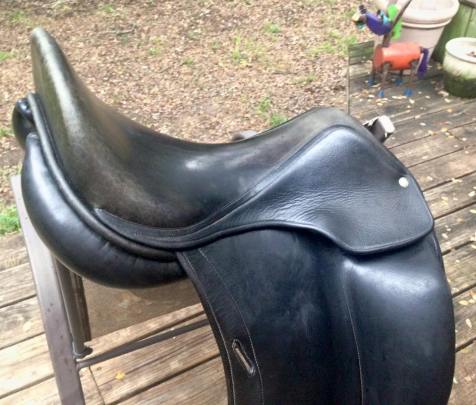 I had read a lot online about dyeing saddles, and since I dyed a pair of tall boots a while back I’m a little less scared of the process in general. So I scoured the internet for tips, ordered my supplies on Amazon, and bolstered my bravery. Oh yeah, and I had a hard cider before I started. Liquid courage helps. Several of you asked me to share the process and results here, so… here ya go. I’m not saying this is the best or the only way to do it, but this is what I did. I know it looks like a lot of writing, but that’s only because I tried to be as specific as possible. It really isn’t hard at all, don’t be deterred by my rambling.
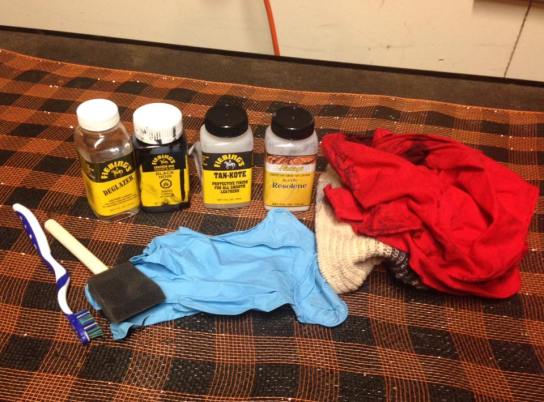
First up: Supplies. I went with all Fiebing’s products because a) that’s what I used on the tall boots, b) that’s what most of the online folks were recommending.
- Deglazer (which I think is just acetone but I wasn’t taking any chances with getting the wrong thing)
- Leather Dye
- Tan-Kote
- Resolene
- Brushes (I used foam, but microfiber or regular paint brush would work too)
- Rags (tons – the microfiber ones from the dollar store work great)
- Latex gloves
- toothbrush
- your adult beverage of choice
I bought all the Fiebing’s products and foam brushes from Amazon for $35 with free shipping, and the rest I already had lying around. Not a bad investment.
First I cleaned the saddle thoroughly, then went at it with deglazer and a rag. I wet the rag with deglazer and started rubbing in circles. This removes the clear top coat from the leather. Without this step the dye won’t penetrate the leather very well, so while scary to rub what is essentially fingernail polish remover all over your saddle, it’s important. Just take another chug of your adult beverage, you’ll be fine.
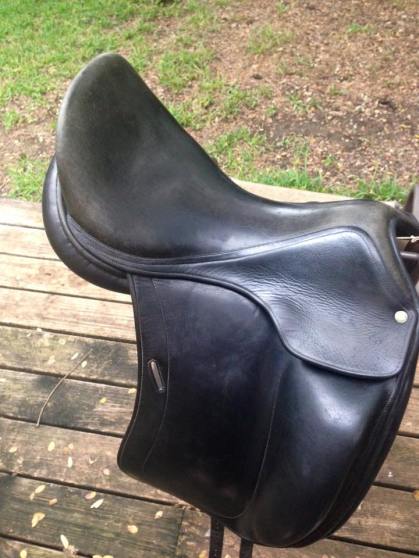
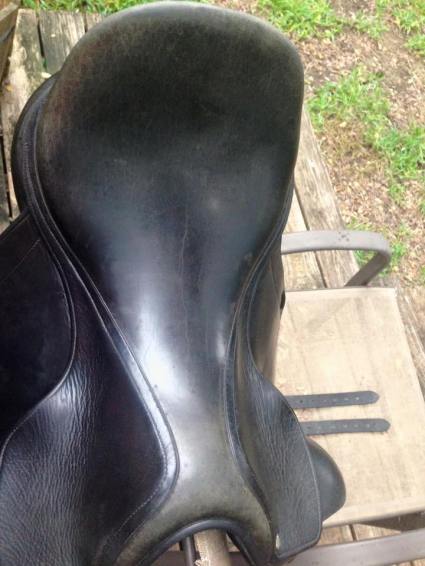
Once you’ve removed the top coat (you should be able to tell once it’s gone, the saddle will look very matte and thirsty all over), let it dry thoroughly. Take a few more chugs of that adult beverage, pull on your gloves, grab your brushes, and start applying the dye. It was a little bit of trial and error for me to figure out which method I liked the most, but by the third and final coat I decided that I preferred to get some dye on the brush (not much, you don’t want it running all over the place), paint it onto the saddle, and then rub it in with a rag. That made the color very even and it absorbed into the leather well. I did one area of the saddle at a time – the seat, then the back and panels, then each skirt, then each flap. To make sure I got into all the little cracks and crevices I used a toothbrush. By applying the dye in sections, it helped keep everything “under control” a bit better. You don’t really need a lot of a dye to get the job done – I used less than half of a 4oz bottle with three light coats.
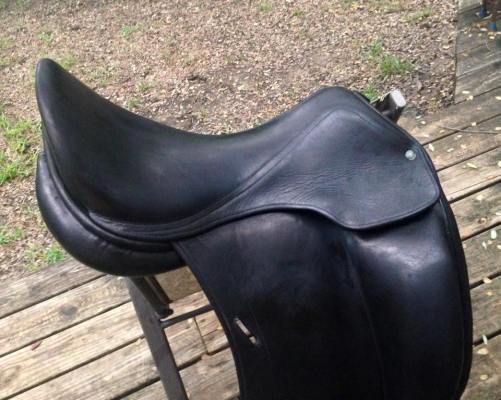
Between each coat I let the saddle dry for about an hour, and after all 3 coats were applied I left it to dry overnight. The next day I took a clean rag and rubbed (in circles, circles are your friend throughout this entire process) all over the saddle to help lift off excess dye.
Then I got out my Tan-Kote, poured some onto a rag, and started putting on a top finish. Some people only use Tan-Kote, some people only use Resolene… the results that I found online that I liked the most used both, so I used both as well (it’s also good to note that Resolene is water resistant and Tan-Kote is not, so Tan-Kote is more of a finish and Resolene is more of a sealant). Tan-Kote is resin based and feels sticky as you’re applying it. Don’t worry, just keep rubbing it on in a thin, even layer. As it dries the stickiness will go away.
Once the Tan-Kote dried, I again buffed the saddle with a clean rag. At this point very little dye was leeching onto the rag, but there was still a bit of color transfer. Time for the Resolene. I applied this stuff the same way, although it was very runny and watery compared to the Tan-Kote. When you first rub the Resolene onto the leather it leaves a white-ish blue film that is semi alarming, but it quickly turns to clear. For me this was the trickiest step, because if you didn’t get the Resolene fairly even, you could tell as it dried. It wasn’t difficult, you just had to pay attention and not glob it all over the place. For that reason I opted to do three very thin layers, allowing it to dry between each one. I also recommend doing it in an area where you have really good light (direct sunlight is best).
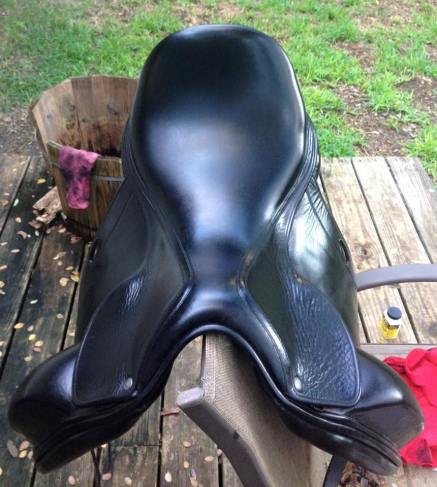
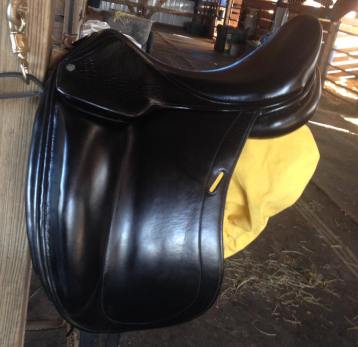
Once it was dry I buffed it again, put on a light coat of lederbalsam, and voila -all done!
When I first mentioned this project, lots of you were concerned about the dye leeching out onto your breeches. Here’s a dry paper towel (left) and a wet paper towel (right) that I rubbed on the seat as hard as I could for 20 seconds:
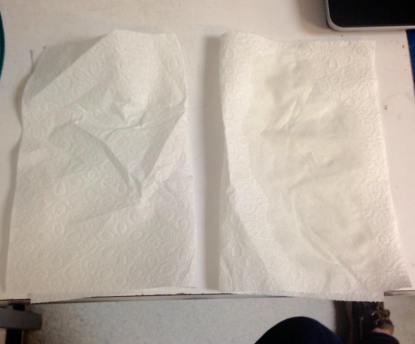
When properly sealed, dye leech shouldn’t be an issue. The Resolene is what provides this barrier. Important to note – once you seal the leather with Resolene, the pores will no longer take oil. If you want to still be able to oil the saddle, stick with the Tan-Kote. That said, without the Resolene you would get some dye leech. Just something to be aware of while weighing the pros and cons of each type of finish – it really comes down to personal preference. Once you’ve sealed it with Resolene, you’re really only going to be able to condition with lederbalsam type products (which is typical of any kind of sealed leather, such as Sedgwick).
Considering that it cost only $35 and a little bit of elbow grease over the course of two days, I would definitely call this one a worthwhile DIY. For value I’d give it 5 out of 5. I think the saddle looks so much better, and with minimal investment. For difficulty I’d say 2 out of 5. Dyeing a saddle is definitely not rocket science, it just requires a little bit of patience and common sense.

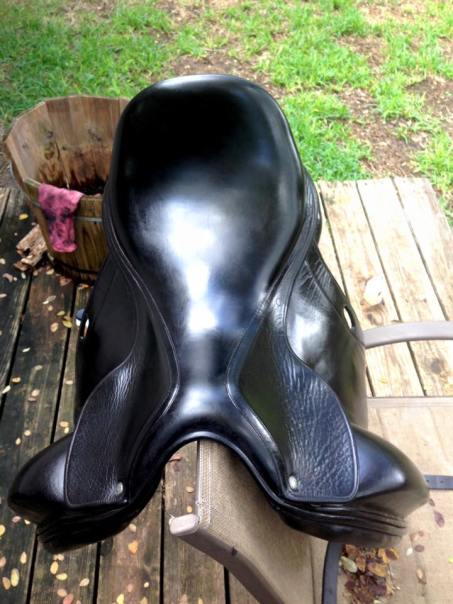
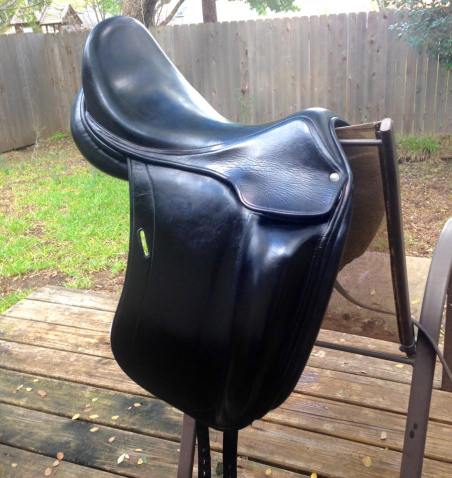

I’m going to dye my cut-back saddleseat saddle from dark brown to black… wish me luck! Can you do a suede seat with this method?
LikeLike
I’d be really interested to hear how your dyeing from brown to black went as I’d like to do the same thing. Did it go OK? I just darent take the plunge, the saddle is nice in brown, but my horse is black!! It fits him so nicely and whilst I could part exchange it and get the same saddle new in black, its an expensive trade.
LikeLike
I dyed my saddle and i was so nervous as i was the same because that is alot of $$ incase it ruined it. but then i was like how do u ruin one by dying it black. I watched a 14yr old dye her $3,000 saddle and it turned out beautiful. so i was like why not im gonna do it. I searched all the supplies i needed and it ws just 2 things. So i started off first with alcohol and wiped down the saddle and the oils it had on it, let that dry. Next day i started one section of the saddle and it was so easy to do and used very little dye. I ordered the black fiebings dye and it comes with a dauber and just did small strokes. then i couldnt stop so i ended up doing the whole saddle. I let dry over nite and then i did another layer of the black to just go over it and fix any touch ups. used q tips for small areas or a small paint brush like water color one for inbetween stitching. then i let it dry for good day then next step was Resolene. that is sealer and protectant. (i recommend this as if any water splashed or rainy maybe it will not run dye it sealed it in) and use small amount and strokes. it may bubble up but it dries. if it kinda takes any dye away just let dry then touch up with black again and then reseal. and then it ws done in just few days. i did the girth and reins and headstall as well. so simple and easier then i thought and the saddle looks like brand new actually! and saved me $500 from a professional and only cost me less then $30 to do.
LikeLike
I dyed my very old brown stubben tristan black using this as a tutorial, it looks great. Just make sure you deglaze everything properly, and evaluate what actually needs to be dyed because if you aren’t gonna see it there’s no real point. Basically common sense required but very doable, my saddle looks brand new and I love it.
LikeLike
Did the Resolone make the leather slick? The shine is beautiful but I worry about the leather being dry and slick. Though I guess you could condition/ oil it between the Tan Kote and the Resolone?
LikeLike
ha, i googled “how to redye a saddle” because i have the exact same childeric with the exact same problem of it being kind of a faded weird green in spots. Your after photos give me hope. wish me luck!!!!
LikeLike
I did try and dye my dressage saddle that was fading exactly like yours. When I did the 3rd coat, it caused an area on the seat to lift the dye leaving it lighter in color than the rest of the seat. It was going great and everything was the same and even, until this 3rd coat of dye. Waiting for it to really dry and will attempt to go and spot treat that one area with dye again. There are also a couple of lighter spots on the knee rolls as well. Maybe that’s areas of more wear and its not absorbing the dye as nicely. Hoping it will even out to match the rest. Tomorrow I will do the Resolene step, followed by the leatherbalm. Was hoping for no real issues with the process, but I guess these things happen sometimes. Wish mine had went as smoothly as your process. Thank you for the directions and pics as this was so incredibly helpful! You rock!!!
LikeLike
Hi Vicky the same thing has just happened to me! Did it dry better or did you work out how to fix the lighter patches? Thanks
LikeLike
Thank you for the step by step directions.
I am going to give this a go.
Is 1 x 4 oz bottle of each product enough to do a saddle?
LikeLike
Thanks so much for this!! Just bought a super nice dressage saddle but it is faded so bad, so i was googling around the best ways to re dye a saddle and i found this !! Can’t wait to do it myself !!!!
LikeLike
Did you use the clear or the black resolene?
LikeLike
I did the clear one but either is good!
LikeLike
Clear
LikeLike
How did it hold up? I dyed a saddle using almost the same technique. The restolene shine started fading and streaking.
LikeLike
I sold it after a couple years but it was fine to that point. I’ve dyed a few since (brown saddles) and have started topcoating with something beeswax based. It needs to be maintained more often but is a little easier to get right.
LikeLike
I’m getting my very own saddle for the first time and it’s a sickly looking poop brown. Going to try this tutorial on it. Wish me luck!!!!
LikeLike
I also have a question. Can I dye it black? I just wanted to make sure it will go into a full transformation into black. Thanks!
LikeLike